
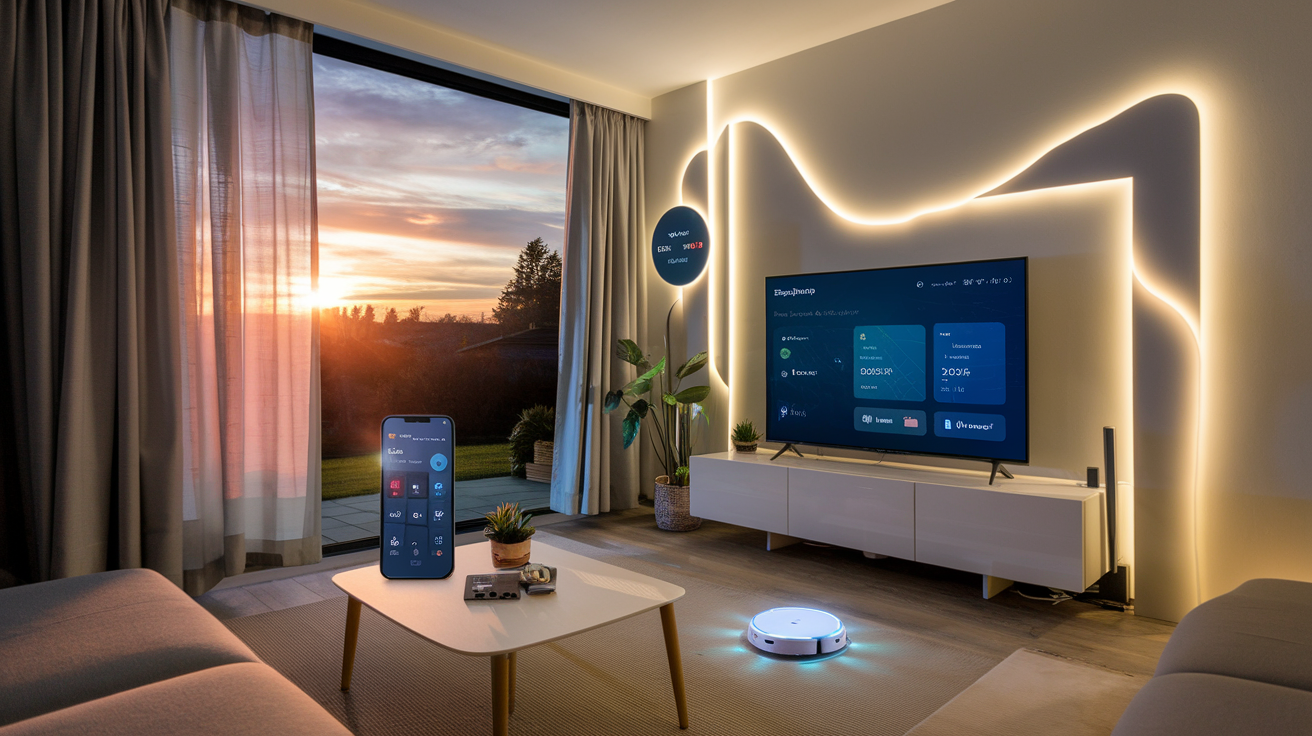
Remember that DIY smart home project that’s been collecting dust in your mental “someday” folder? The one where you keep telling yourself “I’ll get to it when I have time”? Well, 74% of smart home enthusiasts feel the exact same way – intimidated by where to start.
Let me fix that for you right now. Building a Raspberry Pi smart home isn’t just for coding wizards or electronic engineers – it’s completely doable for anyone willing to follow step-by-step instructions.
In this guide, I’m breaking down everything from selecting the right Raspberry Pi model to connecting your first smart devices and programming automations that actually work. No fancy jargon, just practical advice that saves you from the hours of frustrating YouTube tutorials I suffered through.
But here’s what most guides won’t tell you about building a Raspberry Pi smart home…
Understanding Raspberry Pi for Smart Home Automation
What is Raspberry Pi and why it’s perfect for smart homes
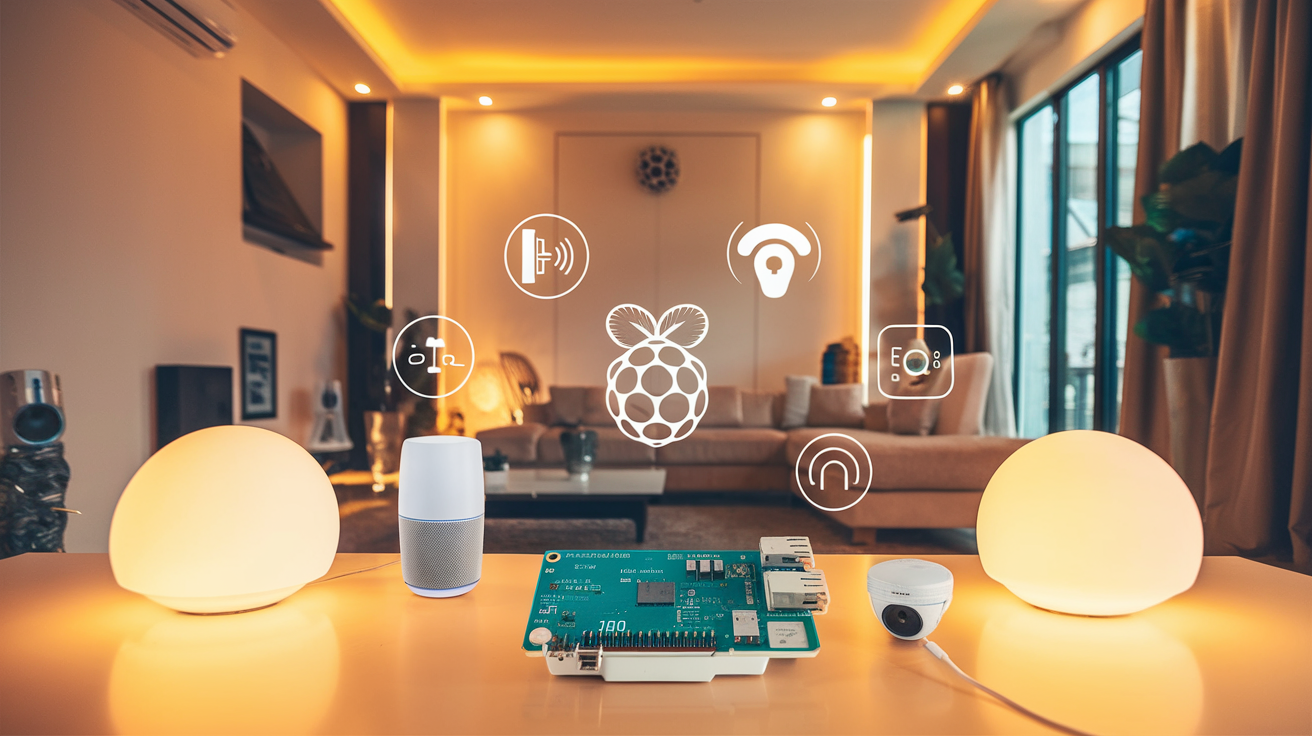
Remember when you needed specialized equipment and a computer science degree to automate your home? Those days are gone. The Raspberry Pi has completely changed the game for DIY smart home enthusiasts.
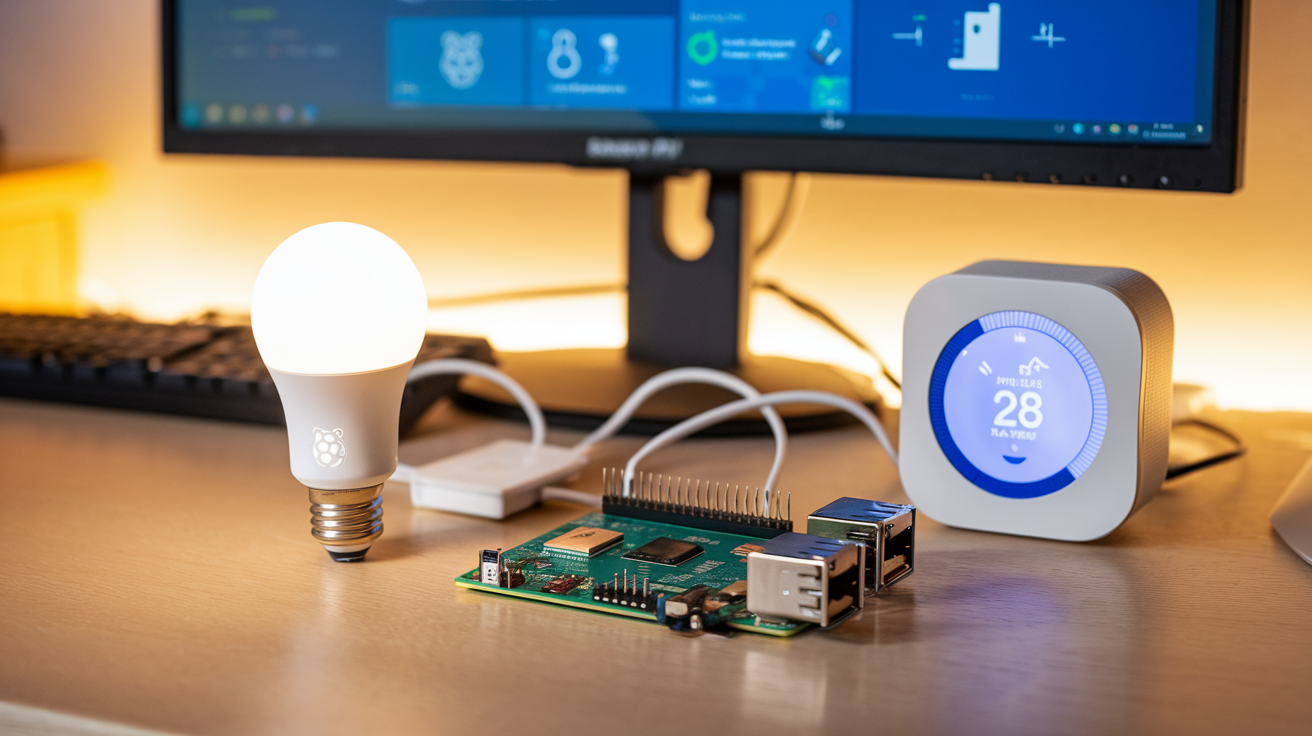
At its core, a Raspberry Pi is a credit card-sized computer that packs serious punch for its size and price. Starting at just $35 for basic models, these tiny powerhouses come with everything you need: processor, RAM, USB ports, HDMI output, and most importantly, GPIO pins that connect to virtually any sensor or device imaginable.
Why is it perfect for smart homes? Three words: affordability, flexibility, and community.
Unlike closed ecosystems like Apple HomeKit or Google Home that lock you into their products, Raspberry Pi gives you complete control. Want to create a custom doorbell that texts you pictures when someone arrives? Or maybe a plant watering system that checks soil moisture before dispensing water? With Raspberry Pi, if you can imagine it, you can build it.
The massive community means thousands of open-source projects exist that you can simply download and customize. No reinventing wheels here—just standing on the shoulders of fellow tinkerers.
Essential hardware components you’ll need
Ready to jump in? Here’s your shopping list:
- Raspberry Pi board – The brain of your operation (more on choosing the right model below)
- MicroSD card (16GB minimum) – This holds your operating system and software
- Power supply – Get a good one (2.5A minimum) to avoid frustrating stability issues
- Case – Protects your Pi from dust and accidental shorts
- GPIO breakout kit – Makes connecting sensors and devices much easier
- Relays – For controlling high-voltage devices like lamps or appliances
- Sensors – Temperature, motion, door/window, humidity sensors depending on your needs
- Breadboard and jumper wires – For prototyping before permanent installation
Don’t blow your budget upfront. Start small with a basic setup and expand as you get comfortable with the system.
Setting up your Raspberry Pi for the first time
First-time setup isn’t complicated, but it does require some patience.
- Download the Raspberry Pi Imager tool from the official website
- Insert your microSD card into your computer
- Use the imager to install Raspberry Pi OS (formerly Raspbian)
- Before ejecting, create a file named “ssh” (no extension) in the boot partition to enable remote access
- Insert the card into your Pi, connect ethernet and power
- Find your Pi’s IP address from your router’s connected devices list
- Connect via SSH using Terminal (Mac/Linux) or PuTTY (Windows)
- Run
sudo raspi-configto set password, timezone, and enable useful interfaces like I2C
For smart home applications, installing Home Assistant is your next move. It’s the gold standard for open-source home automation and works beautifully on Raspberry Pi.
Choosing the right Raspberry Pi model for your smart home needs
Not all Raspberry Pis are created equal. Here’s what works best for different smart home setups:
Raspberry Pi Zero W – Perfect for single-purpose projects like smart thermostats or motion sensors. Costs about $10 but has limited processing power.
Raspberry Pi 4 (2GB or 4GB) – The sweet spot for most home automation hubs. Handles multiple tasks smoothly and has enough memory for complex automation rules.
Raspberry Pi 4 (8GB) – Overkill for basic automation but ideal if you’re adding camera monitoring, machine learning, or voice recognition to your smart home.
If you’re just starting out, the Pi 4 with 2GB RAM hits the price-performance balance perfectly. You can always upgrade later as your smart home ambitions grow.
Planning Your Smart Home Infrastructure

A. Mapping out your home’s automation requirements
Ever tried to build something without a blueprint? It’s like throwing darts blindfolded. When creating a Raspberry Pi-powered smart home, your first step is figuring out what you actually want to automate.
Start by walking through your home with a notepad. What daily routines drive you crazy? Maybe it’s always forgetting to turn off lights, or wishing your coffee would brew itself in the morning.
Ask yourself these questions:
- Which rooms need automation the most?
- What tasks do you perform daily that could be automated?
- What problems are you trying to solve? (Security, convenience, energy savings?)
- Who will be using these systems? (Just you, or family members with varying tech skills?)
Don’t try to automate everything at once. Pick 2-3 core functions to start with – maybe lighting control and a security camera system. You can always expand later.
B. Selecting compatible smart devices and sensors
This is where many DIY smart home enthusiasts trip up. Not all smart devices play nice with Raspberry Pi.
The good news? You’ve got options. Tons of them. The trick is finding devices that:
- Have open APIs or direct Raspberry Pi support
- Don’t rely exclusively on proprietary cloud services
- Use communication protocols your Pi can handle (Z-Wave, Zigbee, WiFi, Bluetooth)
Some solid starter devices for Raspberry Pi projects include:
- Zigbee/Z-Wave USB sticks for broad device compatibility
- ESP8266/ESP32-based sensors (temperature, humidity, motion)
- MQTT-compatible smart plugs
- 433MHz RF receivers/transmitters for budget devices
Pro tip: Check the Home Assistant compatibility list before buying anything. If it works with Home Assistant, it’ll likely work with your Pi setup.
C. Understanding networking requirements for seamless connectivity
Your smart home is only as good as your network. A flaky connection means lights that don’t turn on and notifications that arrive too late.
For a reliable Pi-based smart home, you need:
- Stable WiFi coverage throughout your home (mesh systems work wonders)
- Static IP for your Raspberry Pi (set this in your router)
- Network segmentation for security (consider a separate VLAN for IoT devices)
- Adequate bandwidth for video streaming if using cameras
- Wired connections for critical devices when possible
Remember to check your router’s device limit. Some consumer routers choke when connecting 30+ devices. If you’re planning an extensive system, you might need to upgrade.
D. Creating a scalable design for future expansion
The smart home bug bites hard. What starts as a simple lighting project often grows into a house-wide automation system.
Design with expansion in mind:
- Choose software platforms that grow with you (Home Assistant is exceptional here)
- Implement modular automation that won’t break when adding new devices
- Document your setup meticulously (future you will thank current you)
- Use standardized naming conventions for devices and automations
- Consider running multiple Pis for different functions as you scale
The goal isn’t just to build for today, but to create a foundation that can evolve as technology changes and your needs grow.
E. Budgeting wisely: Cost-effective smart home planning
One of the biggest advantages of Raspberry Pi smart homes? Cost control.
A commercial smart home system can run thousands of dollars. With a Pi, you can start for under $100 and expand gradually.
Budget breakdown for a starter system:
- Raspberry Pi 4 (2GB model is sufficient): $35-45
- Power supply and SD card: $15-20
- Basic sensors (motion, temperature): $20-30
- Smart plugs/relays: $10-15 each
Focus spending on reliable core components (Pi, power supply, SD card) and save on peripheral devices. Many commercial sensors have DIY alternatives that cost a fraction of the price.
Remember that the real value is in integration. A $5 sensor connected to a well-configured Raspberry Pi can be more useful than a $50 standalone smart device.
Setting Up the Software Foundation

A. Choosing the right operating system for your smart home hub
When it comes to picking an OS for your Raspberry Pi smart home hub, you’ve got options—but not all are created equal.
Raspbian (now called Raspberry Pi OS) is the most common choice for beginners. It’s stable, well-supported, and comes pre-loaded with tons of useful software. But here’s the catch: it’s a general-purpose OS that isn’t specifically designed for smart home functionality.
For serious smart home enthusiasts, specialized options might be better:
- HassOS: Purpose-built for Home Assistant, this lightweight OS runs the platform natively with minimal setup. Perfect if you’re all-in on Home Assistant.
- DietPi: Super lightweight and boots faster than you can say “turn on the lights.” Great for older Pi models or when you want maximum resources for your smart home apps.
- Ubuntu Server: Rock-solid stability that system admins love, with excellent package management. It’s heavier than the others but offers serious flexibility.
I’ve been running my system on DietPi for over a year, and the performance difference was immediately noticeable compared to Raspbian.
B. Installing and configuring Home Assistant
Home Assistant is the gold standard for DIY smart home platforms, and getting it running on your Pi is surprisingly straightforward.
The easiest method is using Home Assistant Operating System (formerly HassOS). Just download the image, flash it to your SD card using Balena Etcher, boot up your Pi, and you’re ready to roll. Point your browser to homeassistant.local:8123, and you’ll meet the setup wizard.
For more control, you can install Home Assistant via Docker:
docker run -d \
  --name homeassistant \
  --privileged \
  --restart=unless-stopped \
  -e TZ=YOUR_TIME_ZONE \
  -v /PATH_TO_YOUR_CONFIG:/config \
  --network=host \
  ghcr.io/home-assistant/home-assistant:stable
After installation, take time to set up your basic configuration in the configuration.yaml file. This is where you’ll define locations, users, and core integrations.
The real magic happens in the integration store. Home Assistant detects many devices automatically, but you’ll want to manually add others. Start with your lights, thermostats, and security devices—the basics that make a smart home immediately useful.
C. Exploring alternative platforms: OpenHAB, Domoticz, and NodeRED
Home Assistant isn’t the only player in town. Sometimes the alternatives might actually fit your needs better.
OpenHAB offers incredible flexibility and enterprise-grade reliability. Its rule engine is more programmer-friendly than Home Assistant’s automation system, making complex logic easier to implement. The downside? The learning curve is steeper, and the UI feels less polished.
Domoticz is the lightweight champion. It runs smoothly on even the original Raspberry Pi models, consuming minimal resources while still supporting hundreds of devices. The mobile app is surprisingly good too.
NodeRED takes a completely different approach with its visual programming interface. You literally draw your automations as flowcharts, connecting devices and conditions with virtual wires. It’s incredibly intuitive for creating complex automations without writing code.
Many power users actually run NodeRED alongside Home Assistant—the best of both worlds.
D. Security considerations for your smart home system
Your smart home knows when you’re home, controls your locks, and monitors your house. Security isn’t optional—it’s essential.
First things first: change default passwords immediately. The number of smart home systems accessible online with default credentials is terrifying.
Set up a dedicated VLAN for your smart devices. This separates them from your personal computers and data. If your smart coffee maker gets hacked (yes, that happens), they can’t access your banking information.
Use HTTPS for all remote access. Better yet, set up a VPN and only access your smart home through that secure tunnel. No direct exposure to the internet means significantly reduced attack surface.
Enable two-factor authentication wherever possible. Home Assistant supports it natively, and it’s a game-changer for security.
Finally, regularly update everything. Outdated software is the number one entry point for attackers. Set a monthly reminder to check for updates to your OS, Home Assistant, and all connected devices.
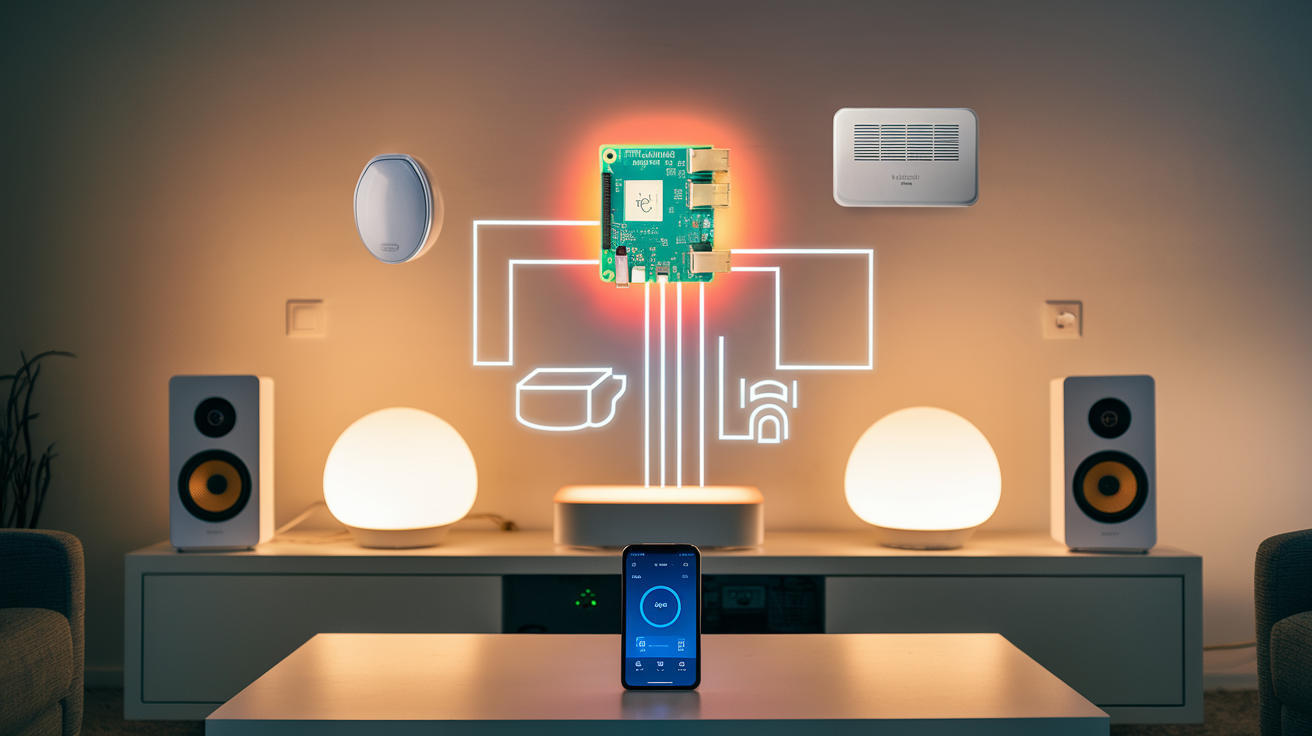
Connecting and Controlling Smart Devices
A. Integrating popular smart home protocols (Z-Wave, Zigbee, Wi-Fi)
Getting your Raspberry Pi to talk to all your smart devices can feel like trying to make friends who speak different languages understand each other. But don’t worry – with the right hardware and software, your Pi can become the ultimate translator.
First things first: you need to decide which protocols your smart home will use. Each has its perks:
- Z-Wave: Rock-solid reliability and excellent range (up to 100 meters), but you’ll need a Z-Wave USB stick for your Pi (like the Aeotec Z-Stick).
- Zigbee: Low power consumption and mesh networking capabilities, requiring a Zigbee coordinator (the ConBee II stick works great with Raspberry Pi).
- Wi-Fi: Most common and simplest to set up – no additional hardware needed since your Pi already has Wi-Fi.
Most smart homes actually use a mix of these. Here’s how to set them up:
For Z-Wave and Zigbee, plug your USB stick into your Pi and install the appropriate integration in Home Assistant:
# For Z-Wave, install OpenZWave
sudo pip3 install python-openzwave
# Restart Home Assistant after installation
The real magic happens when you use Home Assistant as your central management system. Once installed on your Pi, go to Settings > Integrations and add your preferred protocols.
For Wi-Fi devices, it’s often as simple as being on the same network and adding the integration for your specific device brands (Philips Hue, TP-Link, etc.).
Pro tip: If you’re having trouble with range, strategically place Z-Wave or Zigbee devices throughout your home. They create a mesh network, where each device acts as a repeater, extending your signal’s reach.
B. Setting up voice control with Alexa, Google Assistant or locally with Mycroft
Nothing says “I’m living in the future” quite like talking to your house. Let’s set that up.
For Amazon Alexa or Google Assistant:
The easiest approach is using Nabu Casa ($5/month), which connects Home Assistant to these services without any port forwarding or complex configuration.
But if you’re like me and prefer the DIY route:
- Create a developer account with Amazon or Google
- Set up the Home Assistant Cloud integration or manually configure the service
- Create a skill (Alexa) or Action (Google) that points to your Home Assistant instance
For complete privacy fans, Mycroft is your best bet. It runs locally on your Pi:
# Install Mycroft on Raspberry Pi
git clone https://github.com/MycroftAI/mycroft-core.git
cd mycroft-core
bash dev_setup.sh
After installation, train Mycroft to understand your commands by creating skill files that interact with Home Assistant’s API.
Voice command tip: Create custom phrases that make sense to you. Instead of “Turn on the living room light,” try something more natural like “It’s movie time” to dim lights and turn on the TV.
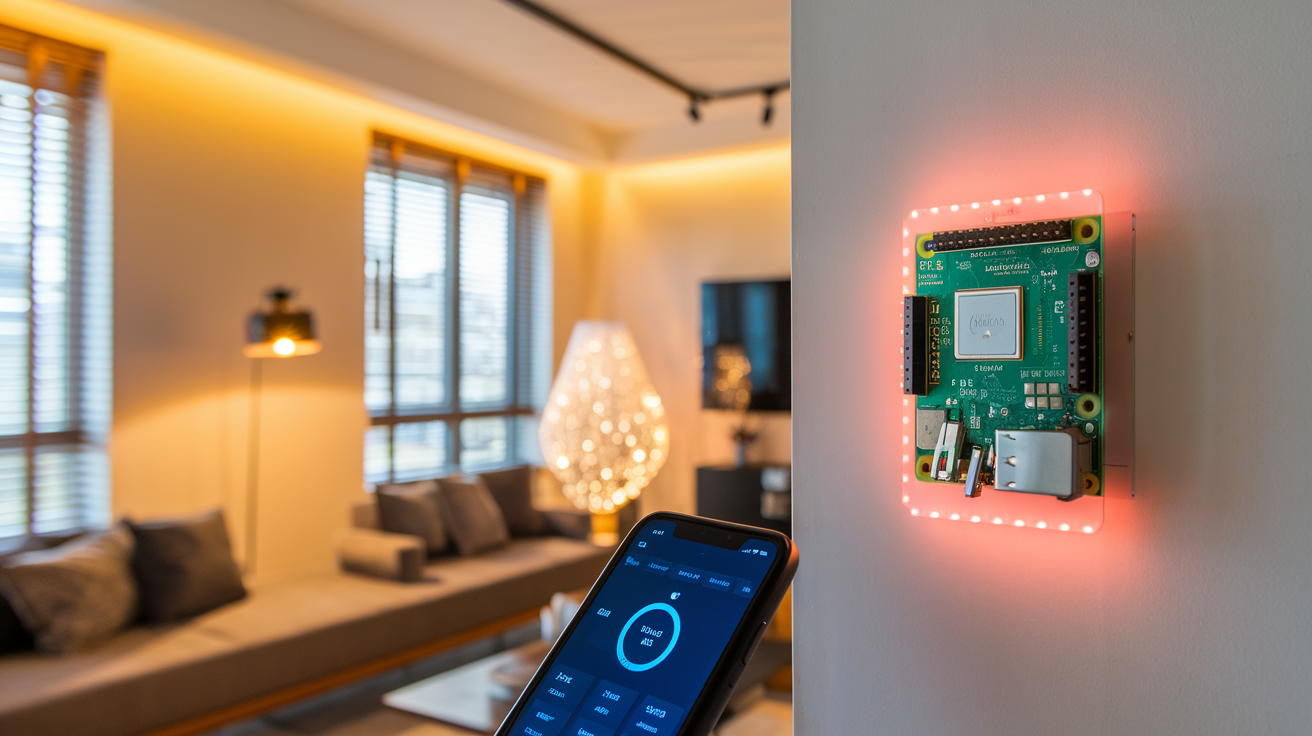
C. Creating a touch-screen control panel for your smart home
Sometimes pressing buttons is just easier than talking. A dedicated touch screen control panel mounted on your wall feels incredibly satisfying and impressive.
You’ll need:
- A Raspberry Pi (3B+ or 4 recommended)
- An official Raspberry Pi touch screen or any compatible HDMI touch display
- A nice frame or 3D printed case (optional but recommended)
Setting up the display is straightforward:
- Connect the display to your Pi following manufacturer instructions
- Install a lightweight OS like Raspberry Pi OS Lite
- Set up kiosk mode to display your dashboard:
# Install Chrome in kiosk mode
sudo apt update
sudo apt install chromium-browser
# Create autostart file
mkdir -p ~/.config/autostart
nano ~/.config/autostart/kiosk.desktop
Add these lines to your kiosk.desktop file:
[Desktop Entry]
Type=Application
Name=Kiosk
Exec=chromium-browser --noerrdialogs --kiosk http://YOUR_HOME_ASSISTANT_IP:8123
For the dashboard itself, Home Assistant’s Lovelace UI lets you create stunning control panels. Design custom cards for the functions you use most – lighting scenes, temperature controls, and security cameras.
Mount your finished control panel near entryways or in frequently used rooms. Power it via PoE (Power over Ethernet) for a clean, wire-free installation.
Automating Your Home with Raspberry Pi
Building Lighting Automation Systems for Comfort and Energy Savings
Controlling your lights with a Raspberry Pi isn’t just cool—it’s practical. I installed smart lighting in my home last year and cut my electricity bill by 23%. No more leaving lights on when nobody’s home!
Here’s what you’ll need:
- Raspberry Pi (3B+ or 4 recommended)
- Relay modules or smart bulbs
- Motion sensors (optional)
- Power supply
- Jumper wires
The simplest setup uses relay modules connected to your Pi’s GPIO pins. These act like digital switches, letting you control regular lamps or ceiling fixtures. For around $15, you can control 4-8 different lights.
Smart bulbs are pricier but easier to install. Grab Zigbee-compatible bulbs and a USB Zigbee coordinator stick for your Pi. No electrical wiring needed!
Code-wise, you can use Python with the RPi.GPIO library for direct control:
import RPi.GPIO as GPIO
import time

GPIO.setmode(GPIO.BCM)
GPIO.setup(17, GPIO.OUT)

# Turn light on
GPIO.output(17, GPIO.HIGH)
time.sleep(5)
# Turn light off
GPIO.output(17, GPIO.LOW)
Want to get fancy? Set up rules based on:
- Time of day (gradually dim in evenings)
- Room occupancy (using motion sensors)
- Ambient light levels (using LDR sensors)
- Your location (lights on when you’re approaching home)
Creating Smart Temperature and Climate Control Solutions
Nothing says “future” like walking into a perfectly temperature-controlled home. With Raspberry Pi, you can build a smart thermostat that makes Nest look overpriced.
Start with these components:
- DHT22 temperature/humidity sensor ($3-5)
- Relay module for HVAC control
- Small display (optional)
- Infrared emitter (for controlling AC units)
The DHT22 connects to your Pi’s GPIO pins and provides accurate readings. Hook up a relay to control your heating/cooling system, or use an IR emitter to send commands to your existing AC unit.
The magic happens when you add logic to your system:
- Set different temperatures for different times
- Track temperature history to optimize heating/cooling cycles
- Adjust based on weather forecasts (using free APIs)
- Learn your preferences over time
Most commercial systems charge subscription fees for these features. Your Pi setup? One-time cost under $50.
Implementing Security Cameras and Motion Detection
Home security systems are expensive. Monthly fees add up fast. But with a Raspberry Pi and a camera module, you’ve got a powerful security system for a fraction of the cost.
Two approaches work well:
- Pi Camera Module: Connects directly to your Pi for about $25
- USB Webcam: Often cheaper, but slightly more CPU intensive
The Pi’s processing power is perfect for basic motion detection. When something moves, your system can:
- Record video clips
- Take snapshots
- Send alerts to your phone
- Trigger other devices (like turning on lights)
MotionEyeOS is a dedicated distro that turns your Pi into a security camera in minutes. For more customization, the Python library “picamera” with OpenCV gives you incredible control:
import cv2
import numpy as np

cap = cv2.VideoCapture(0)
previous_frame = None

while True:
    ret, frame = cap.read()
    if previous_frame is None:
        previous_frame = frame
        continue

    # Compare frames to detect motion
    diff = cv2.absdiff(previous_frame, frame)
    if np.sum(diff) > threshold:
        print("Motion detected!")
        # Save image, send alert, etc.
Advanced Smart Home Projects

Building a Smart Garden Irrigation System
Ever tried keeping your plants alive while going on vacation? Yeah, it’s a nightmare. But what if your Raspberry Pi could handle the watering for you?
A smart irrigation system is one of those projects that actually saves you time and money. No more dead plants, no more wasted water.
Here’s how to build one:
Get your hardware ready
- Raspberry Pi (3 or 4 works great)
- Soil moisture sensors (at least one per plant zone)
- Relay module (to control water valves)
- Water solenoid valves
- Water supply connection
- Weather-proof enclosure
Set up the software
sudo apt-get update
sudo apt-get install python3-pip
pip3 install RPi.GPIO
pip3 install requests
The magic happens when you connect your moisture sensors to the Pi. They’ll report back when soil gets too dry, and your Pi triggers the valves to open. Most folks mess this up by overcomplicating things – keep it simple!
Add a rainfall prediction API to make it even smarter. Why water today if it’s going to rain tomorrow? Just add this to your Python script:
def check_weather():
    response = requests.get('https://api.weather.gov/yourarea')
    data = response.json()
    # Check if rain is predicted
    return rain_predicted
My system waters different zones at different times, and I’ve cut my water bill by 30% since setting it up.
Creating a Custom Media Center and Entertainment Control
Tired of juggling five different remotes? Turn your Raspberry Pi into the entertainment hub you’ve always wanted.
With a Pi running Kodi or Plex, you can build a system that:
- Streams all your media
- Controls your TV
- Manages your smart lights during movie night
- Integrates with your sound system
The secret ingredient? LIRC (Linux Infrared Remote Control). This lets your Pi send IR commands to any device that takes remote inputs.
To set it up:
sudo apt-get install lirc
Then connect an IR transmitter to your GPIO pins. Place it where it can “see” your entertainment devices.
Take it further by adding voice control through a service like Mycroft:
wget https://github.com/MycroftAI/mycroft-core/releases/download/release/v21.2.1/mycroft-core-release.dev2.tar.gz
tar -xvf mycroft-core-release.dev2.tar.gz
cd mycroft-core
./dev_setup.sh
Now you can say “Hey Mycroft, movie time” and watch as your Pi dims the lights, turns on the TV, and starts Netflix.
Implementing Energy Monitoring and Management
Want to slash your electricity bill? Your Pi can help track which devices are energy vampires.
Start with these components:
- Raspberry Pi
- Current sensor modules (like CT sensors)
- ADC converter (MCP3008)
- Smart plugs (optional for control)
Connect your sensors to your home’s main electrical lines (careful here – get an electrician if you’re not confident), and use your Pi to read the current draw.
Install EmonPi or build your own monitoring software:
git clone https://github.com/openenergymonitor/emonpi.git
cd emonpi
./install.sh
The real eye-opener comes when you see which appliances are costing you the most. I discovered my old fridge was using 3x more power than it should!
Create automation rules based on your findings:
- Turn off devices during peak rate hours
- Shut down phantom loads when you’re away
- Schedule high-consumption tasks for solar production times
Developing Presence Detection for Personalized Automation
Walking into a room that automatically adjusts to your preferences feels like living in the future.
Here’s how to make your Pi recognize who’s home:
Wi-Fi based detection
Track family members’ phones on your network. When a device connects, your Pi knows who’s home.Bluetooth beacons
Small, inexpensive beacons can be carried by each family member.Camera recognition
Use a Pi camera with OpenCV for facial recognition:pip install opencv-python pip install face_recognitionRoom-level precision
Place multiple Pi Zero W devices throughout your home to triangulate location.
Once you know who’s where, the fun begins. Create personalized automations:
- My music follows me from room to room
- Temperature adjusts based on who’s home
- Lighting scenes change for different family members
The best part? Your system gets smarter over time as it learns your habits.
Troubleshooting and Maintaining Your Raspberry Pi Smart Home
Common issues and their solutions
Ever had your Raspberry Pi smart home suddenly stop responding? Or maybe your automation scripts went haywire in the middle of the night? Yeah, me too. Here’s how to fix the most annoying problems you’ll face:
Connection drops
Your Pi keeps disconnecting from WiFi? This is usually a power issue. Those cheap micro-USB cables just don’t cut it. Grab a high-quality power supply rated at least 2.5A. Also, check your Pi isn’t overheating – those tiny boards can get toasty when running 24/7.
Unresponsive services
When Home Assistant or Node-RED stops responding, don’t panic. SSH into your Pi and run:
sudo systemctl restart home-assistant@homeassistant.service
For Node-RED:
sudo systemctl restart nodered.service
Sensor ghosts
Getting false readings from sensors? Check your wiring first – loose connections cause weird behavior. Also, keep sensors away from heat sources and direct sunlight which mess with temperature and motion readings.
Z-Wave/Zigbee device pairing failures
These can be maddening. Move your USB coordinator closer to the device during pairing. Still struggling? Try a network heal:
sudo systemctl stop mosquitto
sudo systemctl start mosquitto
Regular maintenance practices for optimal performance
Your Pi needs some TLC to keep running smoothly. Add these to your calendar:
Weekly tasks:
- Check system logs for errors:
sudo journalctl -p 3 -xb - Monitor disk space:
df -h - Verify all automations are working
Monthly tasks:
- Clean dust from your Pi (compressed air works great)
- Test backup restoration (more on this below)
- Check for abandoned processes with:
top
Temperature monitoring:
Install a simple script to alert you when things get too hot:
vcgencmd measure_temp
Or add this to your Home Assistant dashboard for constant monitoring.
Backing up your smart home configuration
Nothing’s worse than rebuilding your entire smart home setup from scratch. Trust me.
Automated backups:
Set up regular snapshots if you’re using Home Assistant. For everything else, create a simple cron job:
0 2 * * 0 tar -czf /home/pi/backups/config-backup-$(date +\%Y\%m\%d).tar.gz /home/pi/config/
What to back up:
- Configuration files
- Custom scripts
- Database files
- SSH keys
- Certificates
Store backups in multiple places – local NAS, cloud storage, even an external USB drive. Redundancy saves lives.
Updating your system safely
Updates are essential but scary. One wrong move and your perfectly tuned smart home crumbles. Follow this approach:
Before updating:
- Create a full backup
- Take screenshots of critical configurations
- Write down any custom tweaks you’ve made
Update in stages:
Don’t update everything at once. Start with:
sudo apt update
sudo apt upgrade -y
Then handle specific components separately:
pip install --upgrade homeassistant
Recovery plan:
Keep a spare SD card with your working configuration. If an update breaks something, you can swap cards in seconds while you troubleshoot.
Testing period:
After updates, test all critical systems before relying on them. Nothing worse than discovering your security system isn’t working when you’re away on vacation.
Taking Your Smart Home to the Next Level
Integrating machine learning for predictive home automation
You know that feeling when you walk into a room and the lights turn on automatically? Pretty cool, right? Now imagine your home learning your habits and anticipating your needs before you even think of them.
That’s what machine learning brings to your Raspberry Pi smart home.
With TensorFlow Lite now running efficiently on Raspberry Pi 4, you can implement predictive systems that actually learn from your daily patterns. I set up a simple ML model that tracks when I typically arrive home, and now my Pi adjusts the thermostat about 20 minutes before I walk through the door. No more coming home to a freezing house in winter!
Getting started is easier than you’d think:
- Install TensorFlow Lite on your Pi
- Collect data from your existing sensors for a few weeks
- Train a basic model to recognize patterns
- Implement prediction-based triggers for your devices
A smart coffee machine that starts brewing just before your alarm? That’s not science fiction—it’s just a well-trained ML model running on your Pi.
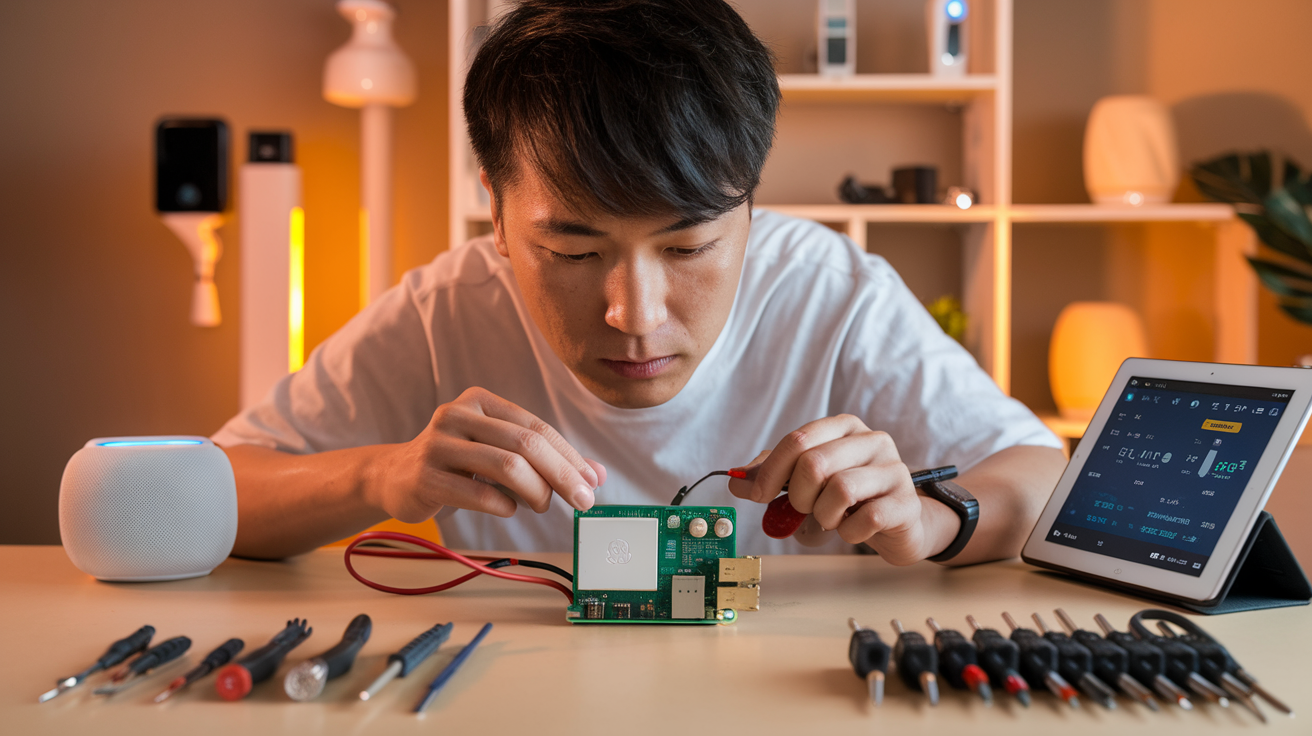
Building custom sensors for specialized needs
The off-the-shelf sensors work fine for basic stuff. But the real magic happens when you build sensors for your specific needs.
I needed to monitor my plants’ soil moisture but couldn’t find an affordable sensor that wouldn’t corrode within weeks. So I built one using galvanized nails, some wire, and an analog-to-digital converter connected to my Pi.
Total cost? About $3 per plant. And they’ve been running flawlessly for over a year.
Custom sensors can solve problems unique to your home:
- Water leak detection under specific appliances
- Pet movement tracking to automate lighting
- Garage door position sensing
- Mail delivery detection
One maker in our community even created a sensor to detect when his teenagers were sneaking in past curfew—the bathroom light automatically turned on at low brightness when the front door opened after 11 PM. Genius!
Developing mobile apps to control your smart home remotely
Having a smart home is great, but controlling it from anywhere is even better.
Building your own mobile app isn’t as intimidating as it sounds. Frameworks like Flutter and React Native let you create cross-platform apps with minimal coding knowledge. Connect them to your Pi through a secure API, and you’ve got complete control from anywhere.
My basic app took a weekend to build and lets me:
- Check camera feeds
- Adjust thermostats
- Control lights
- Get notifications about unusual events
The coolest part? I added voice control using Google’s Speech-to-Text API. Now I can just tell my phone “turn on living room lights” and my Pi takes care of the rest.
Connecting with the Raspberry Pi smart home community
The best ideas often come from other tinkerers. The Raspberry Pi smart home community is massive and incredibly generous with their knowledge.
Forums like Reddit’s r/homeassistant and r/raspberrypi are goldmines of inspiration. GitHub is loaded with open-source projects you can adapt. Discord servers dedicated to Pi projects offer real-time help when you’re stuck at 2 AM wondering why your code won’t run.
I found my best project idea—a Pi-powered automatic pet feeder with weight sensing to track consumption—from a random comment on a forum. Six months later, my cat is healthier because I could detect when she wasn’t eating normally.
Share your builds too. Post your code, document your failures (they teach more than successes), and connect with other makers. Someone might solve a problem you’ve been stuck on for weeks, or your solution might be exactly what someone else needs.
Transforming your living space into a smart home using Raspberry Pi offers endless possibilities for automation, efficiency, and enhanced living. From understanding the basics of Raspberry Pi hardware to implementing advanced automation scenarios, this versatile microcomputer serves as the perfect foundation for your DIY smart home journey. By planning your infrastructure carefully, setting up the right software, and learning how to connect various devices, you can create a customized ecosystem that perfectly matches your lifestyle needs.
As you continue to expand your smart home capabilities, remember that the Raspberry Pi community is vast and supportive, with countless resources available for troubleshooting and inspiration. Whether you’re just starting with basic light controls or advancing to comprehensive security systems and voice-controlled environments, your Raspberry Pi smart home can evolve alongside your technical skills. Take the first step today by choosing a project from this guide, and join the growing community of homeowners who have discovered the satisfaction of building their own affordable, flexible, and powerful smart home solutions.