
Building a budget home studio doesn’t mean sacrificing quality for price. This comprehensive guide shows musicians, podcasters, and content creators how to create a functional home recording studio under $500 without breaking the bank.
You don’t need thousands of dollars or professional-grade equipment to start recording at home. With smart planning and strategic purchases, you can build a cheap home studio setup that delivers professional-sounding results. This step-by-step approach focuses on maximizing your investment while getting the most bang for your buck.
This guide covers everything from selecting affordable recording equipment that won’t drain your wallet to creating DIY acoustic treatment using household materials. You’ll learn how to plan your space effectively, choose the right budget audio equipment, and set up a workflow that keeps you creative without technical headaches. By the end, you’ll have a complete home studio on a budget that’s ready to capture your next big idea.
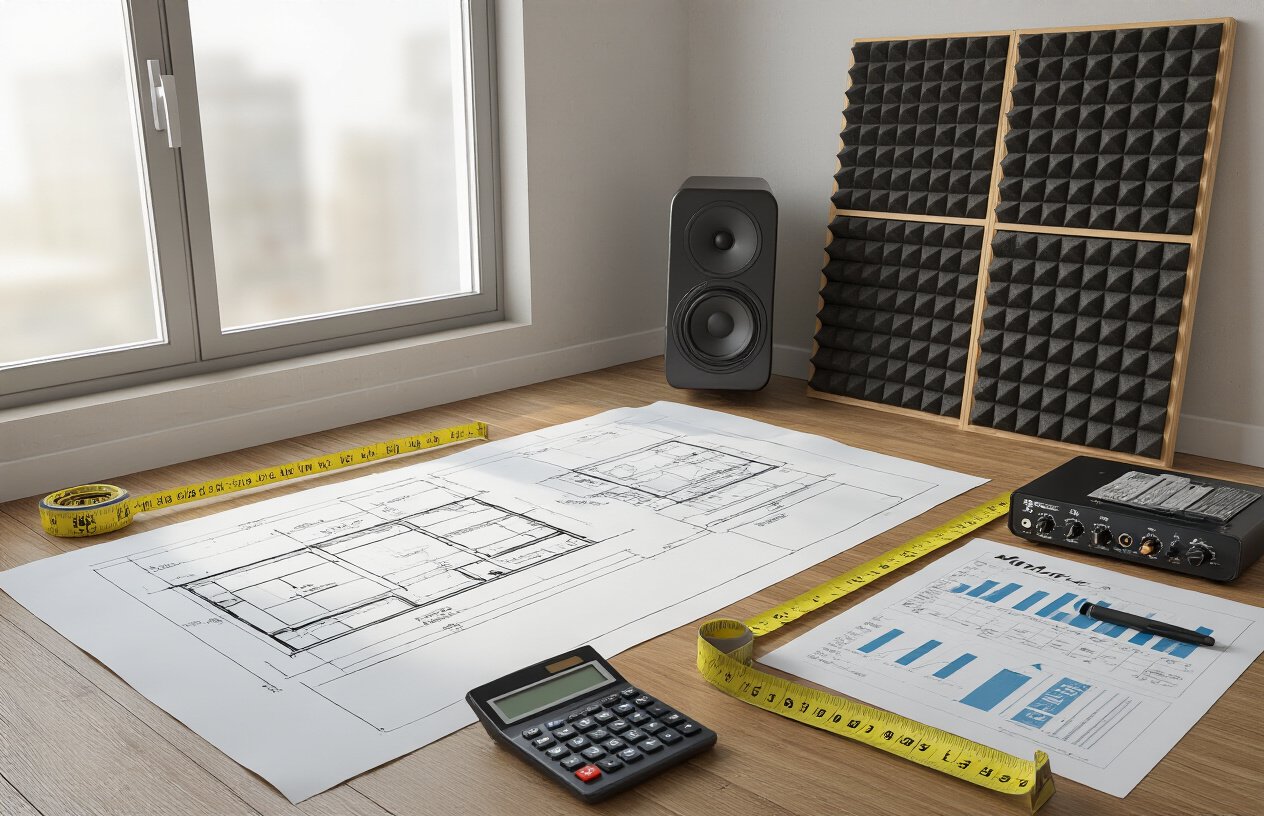
Plan Your Studio Space and Budget Allocation
Choose the ideal room or corner for maximum sound quality
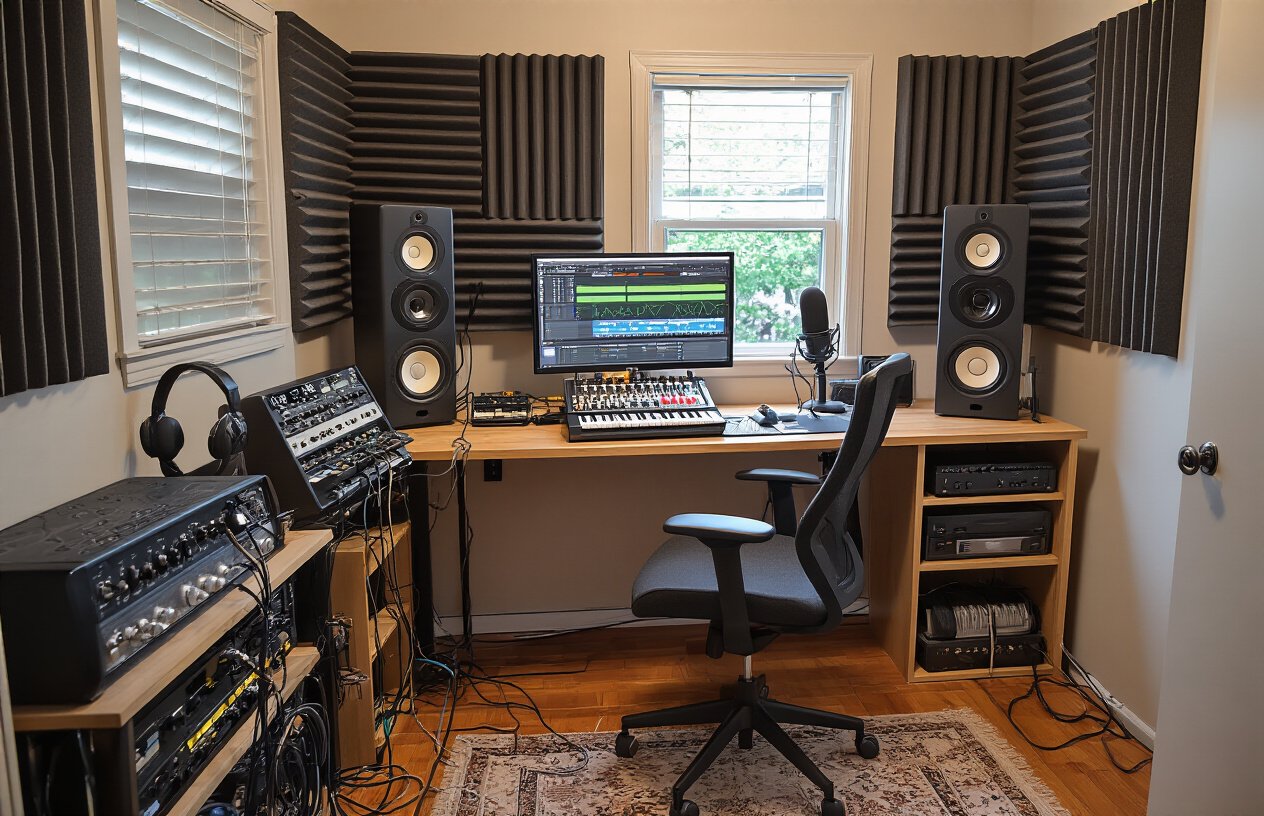
Finding the right space for your budget home studio sets the foundation for everything else. Your bedroom, spare room, or even a quiet corner can work perfectly with the right approach. Look for spaces away from high-traffic areas, HVAC systems, and noisy appliances. Corners naturally help with bass buildup, which can actually work in your favor when recording vocals or instruments.
Square rooms create standing wave issues, so rectangular spaces work better. If you’re stuck with a square room, don’t panic – strategic furniture placement can break up those problematic reflections. Closets make surprisingly good vocal booths since clothes act as natural sound absorption. Hard surfaces like tile or hardwood floors will need addressing, but carpet provides decent sound dampening for a cheap home studio setup.
Check your room’s noise floor by recording silence for 30 seconds. Traffic noise, neighbor sounds, or electrical hum will show up clearly. The quieter your starting point, the less you’ll need to spend on soundproofing later.
Set realistic expectations for your $500 budget breakdown
Building an affordable recording equipment setup requires smart money management. Your $500 needs to cover recording interface, microphone, headphones, cables, and basic acoustic treatment. Here’s a realistic breakdown that works:
| Category | Budget Range | Percentage |
|---|---|---|
| Audio Interface | $80-120 | 20-24% |
| Microphone | $60-100 | 12-20% |
| Headphones | $50-80 | 10-16% |
| Cables & Accessories | $30-50 | 6-10% |
| Acoustic Treatment | $80-120 | 16-24% |
| DAW Software | $0-60 | 0-12% |
| Furniture/Stand | $40-80 | 8-16% |
Many beginners blow half their budget on one “perfect” microphone, leaving nothing for proper monitoring or room treatment. This approach backfires because even the best mic sounds terrible in an untreated room through cheap speakers.
Free DAW options like Reaper’s 60-day trial, GarageBand (Mac), or Cakewalk (PC) help stretch your dollars. Used gear markets offer excellent value – a $200 microphone often sells for $120 after six months.
Prioritize essential equipment over luxury items
Your home recording studio under $500 needs four absolute essentials: audio interface, microphone, headphones, and recording software. Everything else is secondary. Resist the urge to buy studio monitors immediately – good headphones will serve you better initially and cost less.
Skip expensive microphone preamps, compressors, or EQs for now. Modern audio interfaces include decent preamps, and your DAW provides all the processing you need. Avoid cheap microphone bundles that include stands, pop filters, and cables – these accessories are usually low quality and better purchased separately.
Focus on one good microphone instead of multiple mediocre ones. A quality dynamic mic like the Shure SM57 or Audio-Technica ATR2100x handles vocals and instruments equally well. Condenser mics sound great but require phantom power and treated rooms to shine.
Account for acoustic treatment and furniture costs
Acoustic treatment DIY projects eat up budget quickly if you’re not careful. Heavy blankets, moving pads, and foam mattress toppers provide decent absorption for under $50. Professional acoustic foam costs $3-5 per square foot, while homemade panels using rockwool and fabric run about $8 per 2×4 foot panel.
Target your first reflection points – the spots on your walls where sound bounces directly from your speakers to your ears. Treat corners with bass traps made from thick blankets or comforters. Your room doesn’t need to be an anechoic chamber; some natural reverb actually helps recordings sound musical.
Furniture doubles as acoustic treatment. Bookshelves break up reflections, couches absorb sound, and desks provide necessary workspace. A sturdy desk costs $50-100, while microphone stands run $25-50. Don’t forget cable management – a few cable ties and adhesive hooks keep your DIY home studio organized and professional-looking.
Budget an extra 10-15% for unexpected purchases like adapters, replacement cables, or additional acoustic materials once you start recording and identify problem areas.
Select Your Core Recording Equipment
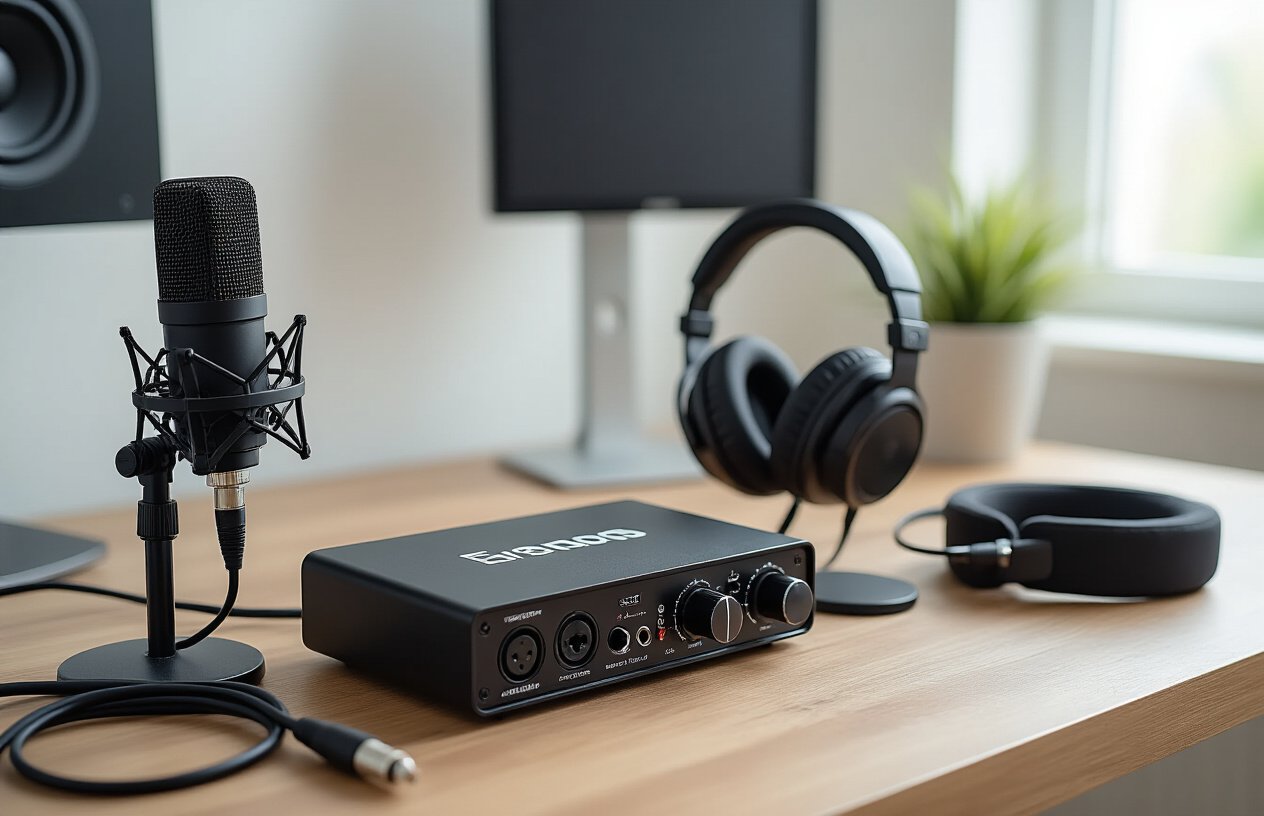
Find the best audio interface under $150
Your audio interface acts as the bridge between your microphones and your computer, converting analog sound into digital recordings. For a budget home studio, you’ll want something that delivers clean preamps and reliable performance without breaking the bank.
The Focusrite Scarlett Solo ($120-130) stands out as the top choice for solo recording. This compact unit offers one XLR/line input with a solid preamp, direct monitoring, and excellent build quality. Perfect if you’re primarily recording vocals or single instruments.
For more versatility, consider the PreSonus AudioBox USB 96 ($99-110). This interface provides two inputs, allowing you to record vocals and guitar simultaneously or capture stereo sources. The preamps are clean and quiet, making it excellent for budget recording gear setups.
The Behringer U-Phoria UM2 ($30-40) deserves mention as an ultra-budget option. While not as refined as pricier units, it gets the job done for basic recording needs and leaves more money for other essential gear.
Key features to prioritize:
- Clean preamps with at least 48V phantom power
- Zero-latency monitoring
- USB bus power (no external power supply needed)
- Solid driver support for your operating system
Choose studio monitors that deliver professional sound
Studio monitors reveal the true character of your recordings, helping you make mixing decisions that translate well across different playback systems. Skip computer speakers and invest in proper near-field monitors for your affordable recording equipment setup.
The PreSonus Eris E3.5 ($99-110) offers remarkable value for compact 3.5-inch monitors. These active speakers provide balanced sound reproduction with acoustic tuning controls to match your room. Their small footprint works perfectly for desktop setups.
Edifier R1280T ($99-120) bookshelf speakers deliver impressive sound quality with classic wood construction. While not technically studio monitors, their flat response curve and quality drivers make them suitable for budget home studio mixing.
For slightly more investment, the JBL Professional 1 Series 104-BT ($149-179) provides reference-quality monitoring in a compact package. These 4.5-inch monitors offer excellent frequency response and imaging, making them perfect for critical listening.
Monitor placement tips:
- Position tweeters at ear level
- Form an equilateral triangle with your listening position
- Keep monitors away from walls to reduce bass buildup
- Use isolation pads to decouple from your desk
Pick a versatile microphone for multiple recording needs
Choosing the right microphone for your home recording studio under $500 requires balancing versatility, quality, and budget constraints. A single great microphone that handles multiple sources beats several mediocre ones.
The Audio-Technica AT2020 ($99-149) stands as the gold standard for budget recording. This large-diaphragm condenser microphone captures vocals with warmth and detail while handling acoustic instruments beautifully. Its cardioid pattern rejects background noise effectively, making it ideal for untreated rooms.
Shure SM58 ($99-119) brings legendary durability and performance to your setup. While primarily known as a live vocal mic, the SM58’s dynamic design works wonderfully for recording loud sources like guitar amps and drums. Its built-in pop filter and rugged construction make it nearly indestructible.
For maximum versatility, consider the Samson Q2U ($69-89). This unique hybrid microphone offers both XLR and USB connections, functioning as a dynamic microphone that excels at vocals and podcasting while providing the flexibility to connect directly to your computer when needed.
Audio-Technica ATR2100x-USB ($79-99) provides similar hybrid functionality with slightly different tonal characteristics. Both hybrid options give you recording flexibility as your DIY home studio evolves.
Microphone accessories to budget for:
- Pop filter ($10-15)
- Boom arm stand ($25-40)
- Shock mount ($15-25)
- XLR cable ($10-20)
These core components form the foundation of any successful budget home studio, providing professional recording capabilities without the professional price tag.
Set Up Your Digital Audio Workstation
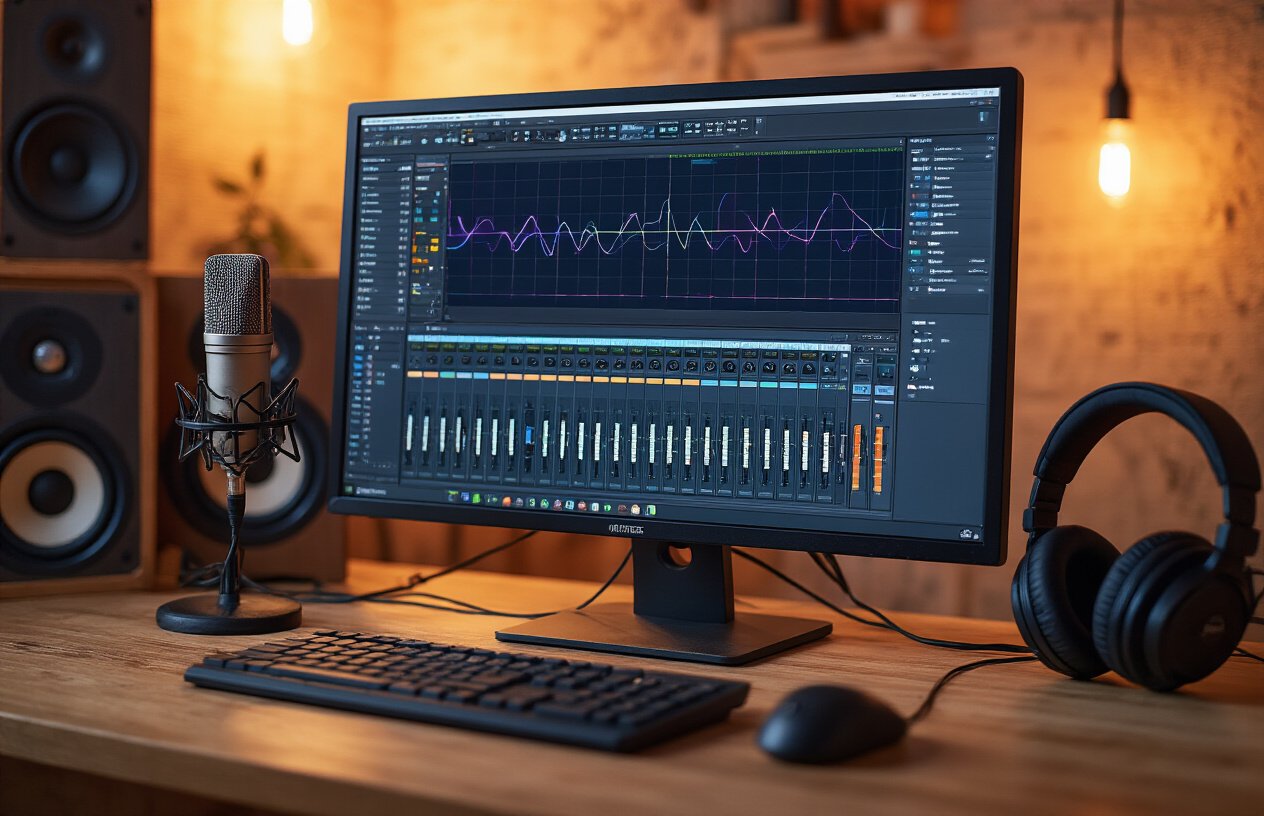
Download free or affordable DAW software options
Your digital audio workstation (DAW) serves as the heart of your budget home studio setup. The good news? You don’t need expensive software to create professional-sounding recordings. Several excellent free and affordable options can handle everything from basic recording to advanced mixing.
Reaper stands out as the best value at just $60 for personal use. It offers professional features without the premium price tag, making it perfect for your home recording studio under $500. The software includes comprehensive MIDI support, unlimited tracks, and a flexible routing system that rivals expensive alternatives.
For completely free options, Audacity provides solid recording and editing capabilities, though it lacks advanced mixing features. GarageBand (Mac only) delivers impressive built-in instruments and effects at no cost. PC users should consider Cakewalk by BandLab, a formerly expensive DAW now available free with professional-grade features.
Studio One Prime offers another free alternative with intuitive drag-and-drop functionality. While the free version has limitations, it provides enough tools to get started with your cheap home studio setup.
| DAW | Price | Best For |
|---|---|---|
| Reaper | $60 | Professional features on budget |
| Audacity | Free | Basic recording/editing |
| GarageBand | Free (Mac) | Beginners with built-in sounds |
| Cakewalk | Free | Advanced features at no cost |
Install essential plugins for mixing and effects
Building your plugin collection strategically helps maximize your affordable recording equipment investment. Start with free plugins that deliver professional results before considering paid options.
TDR Nova provides excellent dynamic EQ capabilities at no cost. This plugin alone can handle most of your equalization needs in a budget audio equipment setup. Pair it with ReaPlugs (free with any Reaper purchase) for comprehensive dynamics processing.
For reverb, Valhalla Supermassive creates lush atmospheric effects without spending a dime. OrilRiver offers beautiful reverb algorithms that compete with expensive alternatives. These plugins add depth and space to your recordings without breaking your home studio on a budget constraints.
Essential free compression comes from TDR Kotelnikov, delivering smooth, musical compression perfect for vocals and instruments. Klanghelm DC1A provides vintage-style compression with simple controls ideal for beginners.
Consider these must-have free plugin categories:
- EQ: TDR Nova, ReaEQ
- Compression: TDR Kotelnikov, Klanghelm DC1A
- Reverb: Valhalla Supermassive, OrilRiver
- Delay: TAL-Dub, Valhalla Freq Echo
- Saturation: Softube Saturation Knob, Camel Crusher
Configure your audio settings for optimal performance
Proper audio configuration prevents frustrating dropouts and latency issues that can derail your recording sessions. Your DIY home studio depends on optimized settings to function smoothly with budget gear.
Set your sample rate to 44.1kHz for most projects. Higher rates like 96kHz consume more processing power without audible benefits for typical home recordings. Choose 24-bit depth for recording to capture maximum detail while conserving disk space compared to 32-bit alternatives.
Buffer size requires careful balancing. Lower buffers (64-128 samples) provide responsive monitoring while recording but demand more CPU power. Higher buffers (256-512 samples) work better during mixing when real-time monitoring matters less. Adjust based on your current task.
Your audio interface drivers need optimization too. ASIO drivers typically provide the best performance on Windows systems. Mac users benefit from Core Audio’s built-in efficiency. Update drivers regularly and close unnecessary background applications to free up system resources.
Enable your DAW’s low-latency monitoring when recording. This feature bypasses the computer’s audio processing for direct monitoring through your interface, eliminating distracting delays between playing and hearing your performance.
Create templates for faster workflow
Templates dramatically speed up your home recording setup guide workflow by eliminating repetitive setup tasks. Smart template creation helps you focus on creativity instead of technical configuration.
Build genre-specific templates with pre-configured tracks, routing, and basic processing. A basic recording template might include:
- Stereo mix bus with light compression
- Vocal track with EQ and compressor inserts
- Instrument tracks with appropriate input routing
- Reference track for A/B comparisons
- Basic drum kit routing if using virtual instruments
Color-code your tracks consistently across templates. Use red for lead vocals, blue for bass, green for guitars, and yellow for drums. This visual system helps you navigate projects quickly, especially important when working within budget recording gear limitations.
Save effect chains as presets for common processing tasks. Create vocal chains combining EQ, compression, and reverb with settings that work well with your specific microphone and room. Bass guitar chains might include amp simulation, compression, and EQ tailored to your playing style.
Set up mix bus processing in your templates with subtle glue compression and EQ. This approach gives your mixes cohesion from the start while maintaining flexibility for adjustments later in the process.
Build Effective Acoustic Treatment on a Shoestring Budget
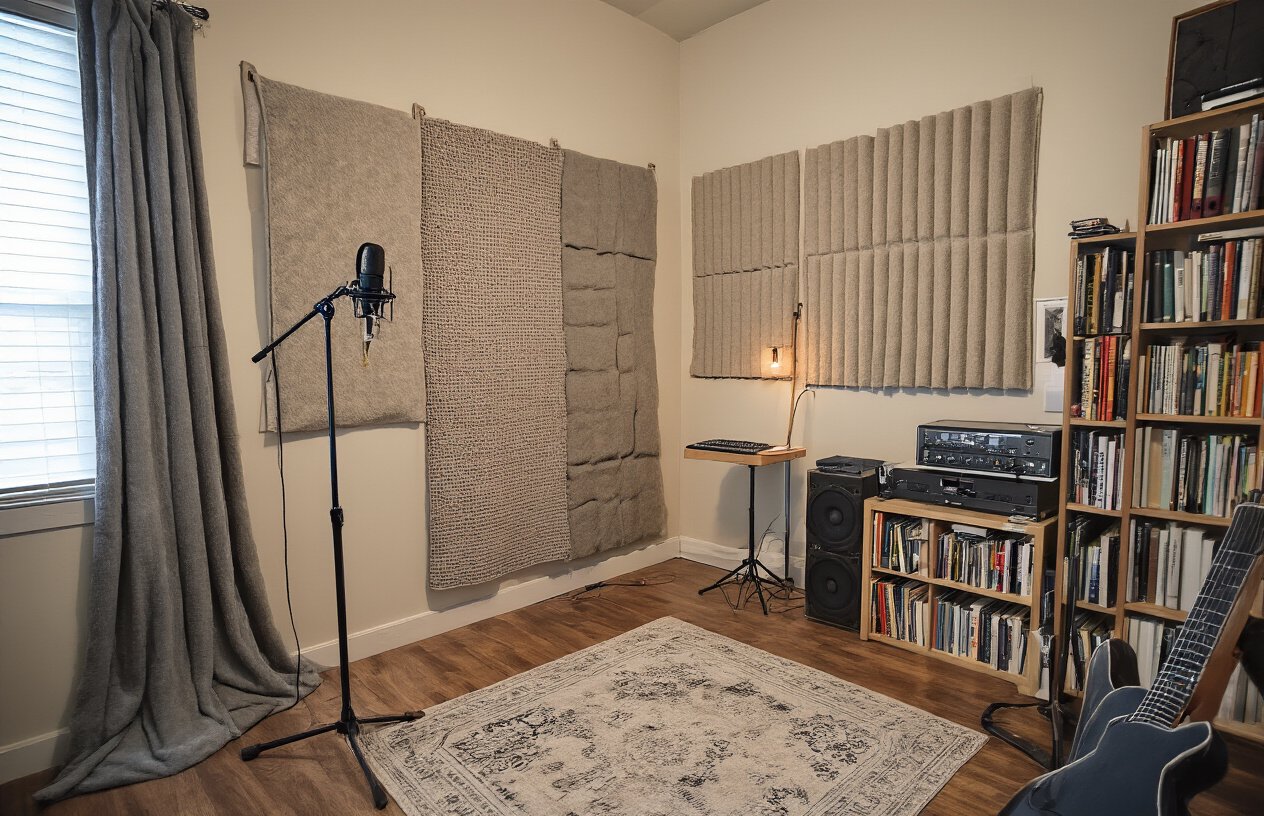
Use household items and DIY solutions for sound absorption
Your budget home studio doesn’t need expensive acoustic panels to sound professional. Common household items work surprisingly well for acoustic treatment DIY projects. Heavy blankets, thick towels, and comforters create excellent sound absorption when hung on walls or draped over stands. Moving blankets, available at hardware stores for under $20 each, offer superior sound dampening compared to regular bedding.
Bookshelves filled with books naturally break up sound reflections while providing excellent diffusion. Position them strategically around your recording area for both functional storage and acoustic benefit. Couch cushions and thick rugs absorb low-frequency buildup that causes muddy recordings.
For a more permanent solution, create DIY acoustic panels using rockwool insulation wrapped in breathable fabric. A 2×4-foot panel costs roughly $15 to make versus $80+ for commercial alternatives. Old egg cartons don’t work effectively despite popular belief – they mainly affect high frequencies and can create unwanted resonances.
Position acoustic panels in critical reflection points
Strategic placement matters more than quantity when building your cheap home studio setup. Focus on first reflection points – the spots on walls and ceiling where sound bounces directly from your monitors to your ears. Sit in your mixing position and have someone slide a mirror along the walls. Wherever you see your speakers reflected, place absorption material.
The area behind your mixing position needs attention too. Sound bouncing off the back wall creates comb filtering that muddles your mix decisions. Hang thick blankets or place a bookshelf 3-4 feet behind your chair.
Corner placement proves crucial for budget recording gear setups. Bass frequencies accumulate in room corners, creating uneven low-end response. Stack thick pillows or place bass traps made from rockwool in corners. Even a simple pile of clothes in corners helps tame problematic bass buildup.
Eliminate unwanted noise and echo issues
Echo problems plague many home recording studio under $500 builds, but simple solutions exist. Clap your hands in your recording space – if you hear distinct echoes, your room needs more absorption. The goal isn’t complete deadness but controlled reflections that don’t interfere with recording clarity.
Address noise sources systematically. Computer fans, air conditioning, and refrigerators create unwanted background noise. Record during quieter hours when possible, or use a laptop instead of a desktop computer for less fan noise. Thick curtains over windows block external sounds while adding acoustic treatment.
Floor reflections often get overlooked in budget audio equipment setups. Hard floors bounce sound upward, creating phase issues. A thick area rug under your desk and chair makes a noticeable difference in recording quality. Carpeted rooms generally need less treatment than hardwood or tile floors.
Create a vocal booth using a closet filled with clothes – the hanging garments provide natural sound absorption. For instrument recording, position yourself near soft furnishings and away from hard parallel walls to minimize problematic reflections.
Optimize Your Studio Layout and Workflow
Arrange Equipment for Efficient Recording Sessions
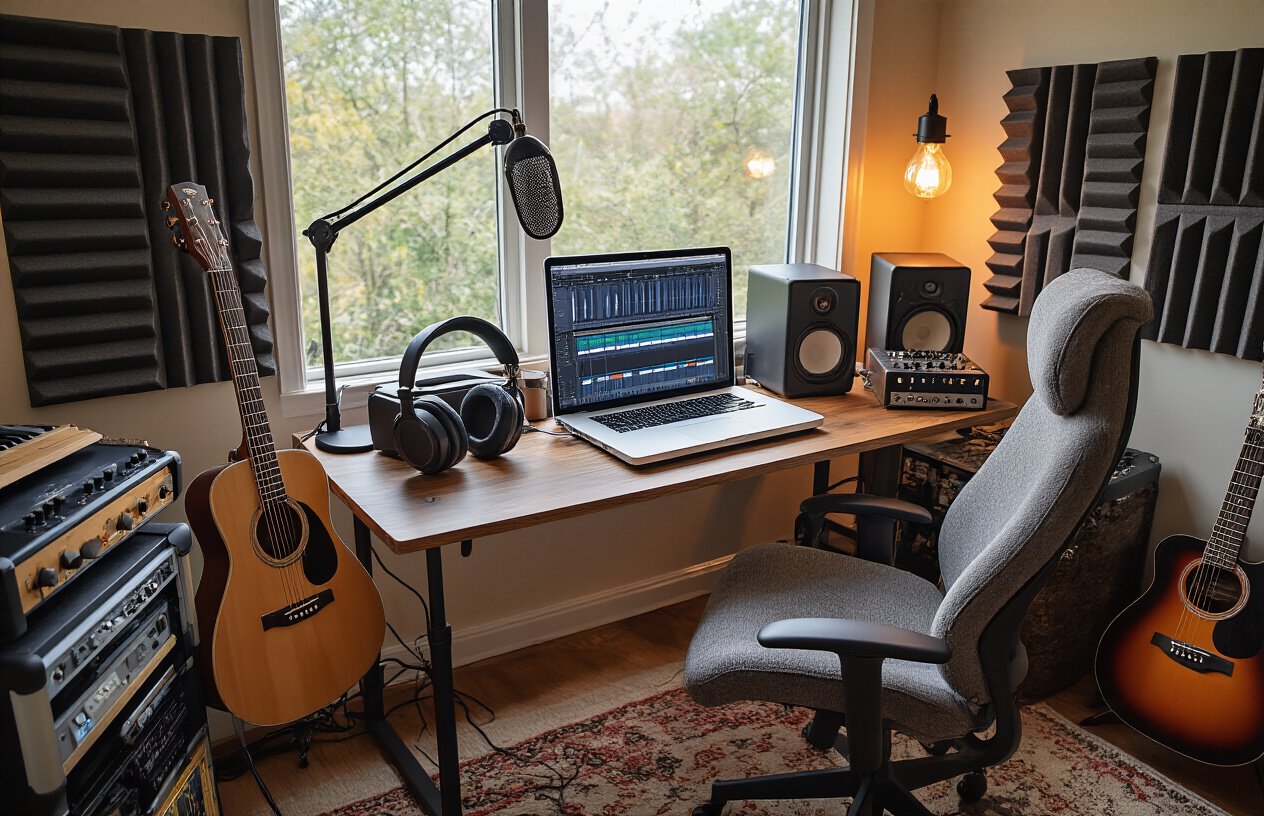
Position your audio interface within arm’s reach of your recording position, keeping all input controls easily accessible during takes. Place your microphone on a sturdy stand at the center of your workspace, ensuring it captures your voice or instruments clearly without requiring awkward positioning. Your monitors should form an equilateral triangle with your head, angled slightly toward your ears and positioned away from walls to minimize reflections.
Keep your MIDI keyboard or controller directly in front of your computer screen to maintain smooth workflow between playing and editing. Store frequently used items like headphones, cables, and picks in designated spots within easy reach. This budget home studio setup prevents interruptions that can kill creative momentum during recording sessions.
Create Proper Cable Management and Organization Systems
Run all power cables along one wall path and audio cables along another to prevent electrical interference in your recordings. Use cable ties or velcro strips to bundle cables neatly, labeling each connection point for quick troubleshooting. Create a simple cable storage system using small containers or hooks to keep spare cables organized and tangle-free.
Establish a consistent color-coding system for different cable types – red for power, black for audio, blue for USB connections. This home recording studio under $500 approach saves time during setup changes and prevents accidental disconnections during important takes.
Set up Ergonomic Workspace for Long Recording Sessions
Adjust your chair height so your feet rest flat on the floor with knees at 90 degrees. Position your computer screen at eye level to prevent neck strain during long editing sessions. Keep your mouse and keyboard at elbow height to maintain neutral wrist positions.
Place a small lamp near your workspace to reduce eye strain without creating harsh shadows on your gear. Keep water and snacks nearby to stay hydrated and energized during extended recording marathons. Your budget recording gear will serve you better when your body stays comfortable throughout the creative process.
Test Your Setup with Practice Recordings
Record test tracks at various volume levels to identify any noise issues or equipment limitations. Practice your typical recording workflow from start to finish, noting any bottlenecks or awkward movements that slow you down. Test different microphone positions and room placements to find your sweet spots for various recording scenarios.
Document your best settings and positions in a simple notebook or phone app for future reference. This cheap home studio setup testing phase reveals problems before they impact important projects, saving both time and frustration later.
Fine-tune Positioning for Best Sound Quality
Move your microphone incrementally while recording short voice samples, listening for the position that captures the warmest, clearest sound. Adjust your monitor placement until you hear a balanced frequency response without overwhelming bass or harsh highs. Experiment with your seating position to find the spot where room acoustics work best with your voice or instruments.
Test recording at different times of day to understand how external noise affects your sessions. Small adjustments to equipment positioning can dramatically improve your recordings without spending additional money on your affordable recording equipment setup.
Building a home studio on a tight budget isn’t just possible—it’s totally doable with smart planning and the right approach. By carefully choosing your space, investing in essential gear first, and getting creative with acoustic treatment, you can create a recording setup that delivers professional-sounding results without breaking the bank. The key is starting with the basics and building up your studio over time as your skills and budget grow.
Your $500 home studio journey starts with making the most of what you have and focusing on the equipment that truly matters. Don’t get caught up in expensive gear envy—some of the best recordings come from simple setups with good technique and creativity. Start recording, experiment with your new space, and remember that great music comes from passion and practice, not just fancy equipment.