
Ever dropped $3,000 on a pre-built gaming PC only to realize you could’ve built something better for half the price? Yeah, that stinging feeling is why you’re here.
Building your own gaming PC isn’t just cheaper—it’s actually way less complicated than most people think. And the satisfaction of powering up a machine you assembled with your own hands? Unmatched.
By the end of this beginner’s guide to building a gaming PC, you’ll know exactly which parts to buy, how they fit together, and the common mistakes that can fry your components. No computer science degree required.
The best part isn’t even the money you’ll save. It’s what happens when your friends ask where you got your setup…
Understanding PC Components: The Building Blocks of Your Gaming Rig
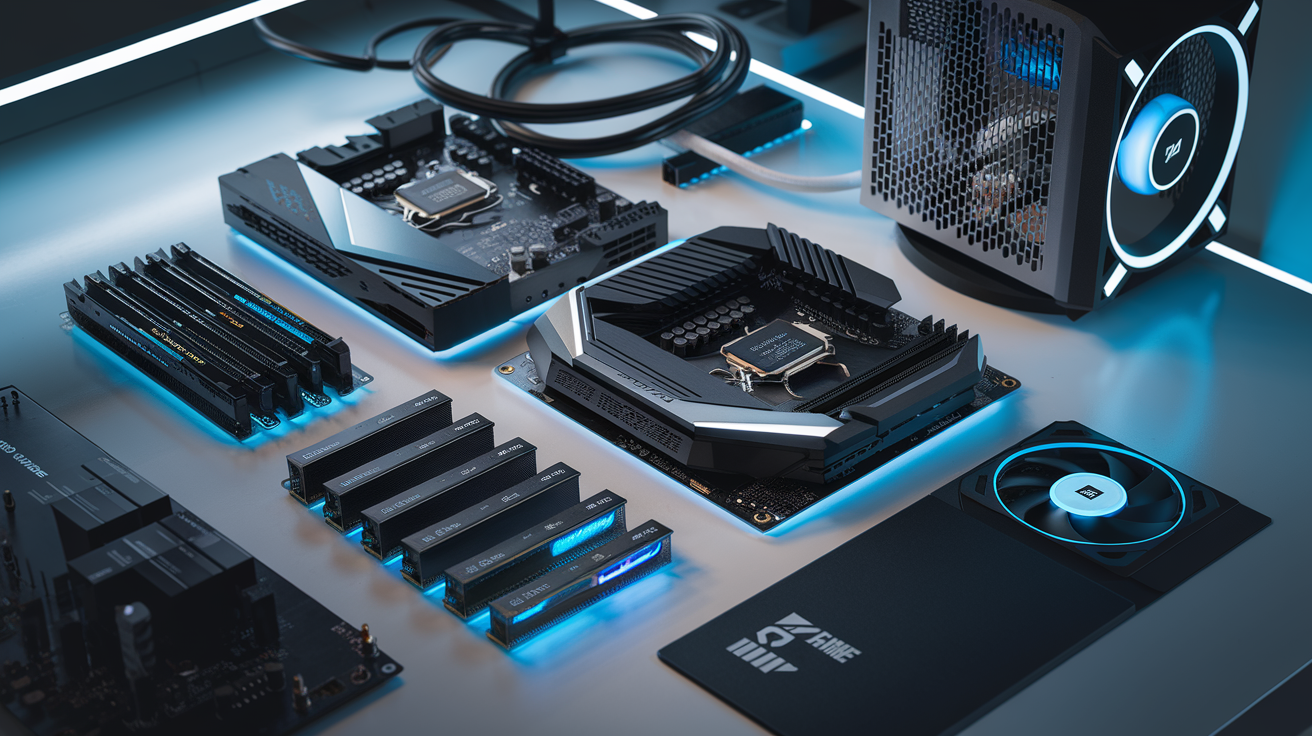
The Central Processing Unit (CPU): Choosing the Brain of Your Gaming PC
Think of the CPU as the commander-in-chief of your gaming rig. This tiny powerhouse handles all the calculations and instructions that make your games run.
In 2025, the AMD vs Intel battle continues to rage on, with both offering stellar options. For gaming specifically, you’re looking at cores, clock speeds, and cache.
Most games in 2025 leverage 6-8 cores effectively, so don’t feel pressured to splurge on a 16-core monster if gaming is your primary focus. Clock speeds (measured in GHz) still matter significantly for gaming performance – higher is generally better.
Some quick recommendations:
- Budget-friendly: AMD Ryzen 5 8600X or Intel Core i5-14600K
- Mid-range: AMD Ryzen 7 8800X or Intel Core i7-14700K
- No-compromises: AMD Ryzen 9 8950X or Intel Core i9-14900K
Remember that CPU choice influences your motherboard options, so decide this early in your planning phase.
Graphics Processing Unit (GPU): Powering Your Gaming Visuals
If the CPU is the brain, the GPU is the artistic genius of your system. For most gamers, this is where you want to invest the biggest chunk of your budget.
The 2025 GPU landscape has evolved dramatically with NVIDIA’s RTX 50 series, AMD’s RDNA 4, and Intel’s Arc becoming a legitimate third contender.
When picking a GPU, consider:
- Resolution: 1080p gaming? A mid-range card will do. Aiming for 4K? You’ll need a high-end card.
- Frame rates: Want competitive-level 240+ FPS? Prioritize a powerful GPU.
- Ray tracing: If you crave those realistic lighting effects, NVIDIA still holds a slight edge here.
- VRAM: 8GB is the bare minimum for 2025 gaming, with 12-16GB preferred for future-proofing.
Don’t forget to check the physical dimensions! Some modern GPUs are absolutely massive and might not fit in smaller cases.
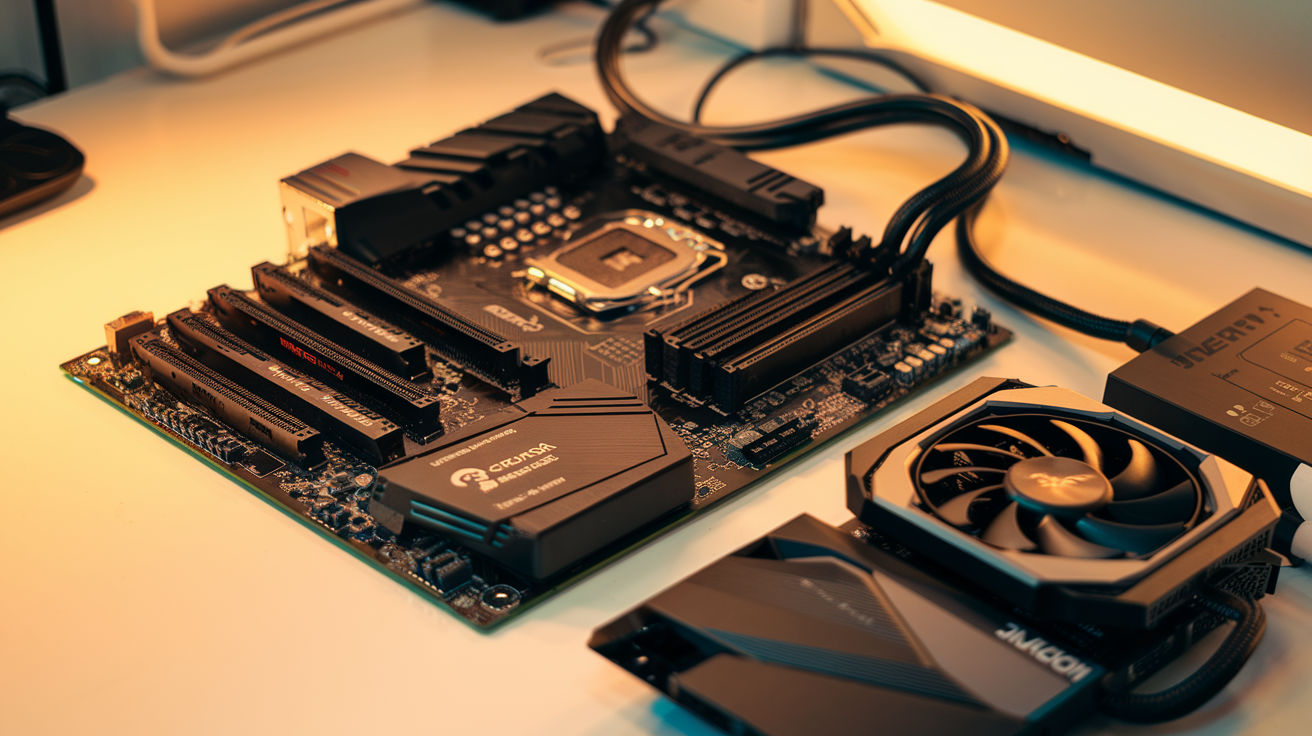
Motherboard: The Foundation that Connects Everything
Your motherboard isn’t just a boring circuit board – it’s the backbone of your entire system. Choosing the right one prevents headaches down the road.
First, match the socket type to your CPU – AM5 for modern AMD processors or LGA 1700/1800 for current Intel chips.
Motherboards come in different sizes:
- ATX: Standard size, plenty of expansion slots
- Micro-ATX: Smaller, fewer slots, but still versatile
- Mini-ITX: Tiny, minimal expansion, perfect for compact builds
Beyond size, consider these features:
- PCIe 5.0 support for future expansion
- Adequate USB ports (including USB-C and USB 3.2 Gen 2)
- Wi-Fi 7 and Bluetooth 6 if you need wireless connectivity
- RGB headers if you’re planning a light show
- Number of M.2 slots for those blazing-fast SSDs
B660/B760 or B650 boards hit the sweet spot for most gamers, while Z790 or X870 boards unlock overclocking potential.
Random Access Memory (RAM): Boosting Your Gaming Performance
RAM is your system’s short-term memory – it stores the data your PC needs to access quickly. Skimping here can create frustrating bottlenecks.
For gaming in 2025, 16GB is the bare minimum, but 32GB offers more breathing room, especially if you multitask with browsers, Discord, and streaming apps running alongside your games.
When shopping for RAM, consider:
- DDR5: The current standard offering significant performance gains over DDR4
- Speed: Look for 6000MHz+ for DDR5 systems
- CAS Latency: Lower numbers mean better responsiveness (look for CL30 or lower)
- Dual vs. Single Channel: Always go dual channel (2 or 4 sticks) for better performance
RAM with RGB lighting won’t boost performance but definitely adds style points to your build.
Storage Solutions: SSDs vs. HDDs for Gaming
The storage debate has largely been settled in 2025: SSDs are essential for any gaming PC.
Here’s the current hierarchy:
- PCIe 5.0 NVMe SSDs: The speed kings (12,000+ MB/s) but pricey
- PCIe 4.0 NVMe SSDs: Excellent performance (7,000+ MB/s) at reasonable prices
- PCIe 3.0 NVMe SSDs: Still very fast (3,500+ MB/s) and often on sale
- SATA SSDs: Much slower (550 MB/s) but affordable for mass storage
- HDDs: Dinosaur-slow but dirt-cheap for archiving games you rarely play
My recommendation? A 2TB PCIe 4.0 NVMe SSD for your operating system and favorite games, paired with a large HDD or budget SATA SSD for your game library.
Modern games often exceed 100GB each, so don’t underestimate your storage needs. Games installed on SSDs load dramatically faster and can even reduce stuttering in open-world titles.
Setting a Realistic Budget for Maximum Performance

Entry-Level Gaming Builds ($500-$800)
Building your first gaming rig doesn’t have to break the bank. At this price point, you’re looking at components that can handle most popular games at 1080p with medium to high settings.
In 2025, an entry-level build typically includes:
- CPU: AMD Ryzen 5 5600 or Intel Core i3-13100F
- GPU: Nvidia RTX 3050 or AMD RX 6600
- RAM: 16GB DDR4 (2x8GB)
- Storage: 500GB NVMe SSD
- Motherboard: B550 or B660 (budget options)
- PSU: 550W 80+ Bronze
- Case: Budget ATX mid-tower
These builds won’t max out Cyberpunk 2077’s newest expansion, but they’ll crush games like Fortnite, Valorant, and even handle newer titles with tweaked settings.
Mid-Range Gaming Powerhouses ($800-$1500)
This sweet spot delivers serious performance without requiring a second mortgage. At this range, you’re diving into solid 1440p gaming territory.
For your mid-range beast, consider:
- CPU: AMD Ryzen 7 7700X or Intel Core i5-14600K
- GPU: Nvidia RTX 4060 Ti or AMD RX 7700 XT
- RAM: 32GB DDR5
- Storage: 1TB NVMe SSD + optional 2TB HDD
- Motherboard: X670 or Z790 (mid-tier)
- PSU: 750W 80+ Gold
- Case: Quality mid-tower with better airflow
The jump from entry-level to mid-range is massive. Suddenly you’re playing nearly everything at high settings with solid framerates at 1440p. Ray tracing becomes more viable, and you’ll future-proof yourself for at least a couple of years.
High-End Gaming Monsters ($1500+)
Got money burning a hole in your pocket? The sky’s the limit here. These builds target 4K gaming or high-refresh competitive play with all settings cranked.
Premium components to consider:
- CPU: AMD Ryzen 9 9950X or Intel Core i9-14900K
- GPU: Nvidia RTX 4080 Super/4090 or AMD RX 7900 XTX
- RAM: 64GB DDR5 (high frequency)
- Storage: 2TB PCIe 5.0 NVMe + additional storage
- Motherboard: High-end X670E or Z790
- PSU: 1000W+ 80+ Platinum
- Case: Premium full tower with exceptional cooling
- Cooling: 360mm AIO or custom loop
At this tier, you’re not just buying performance—you’re buying bragging rights. These systems handle everything from 4K gaming to content creation and streaming simultaneously.
Where to Splurge and Where to Save
Smart budget allocation separates successful builds from disappointing ones.
Worth the Splurge:
- GPU: The single biggest factor in gaming performance
- PSU: Cheap power supplies can fry your entire system
- SSD: Load times and system responsiveness depend on it
Places to Save:
- CPU: Many games remain GPU-bound; a mid-tier CPU often suffices
- RAM: 32GB is plenty; expensive RGB RAM gives minimal performance benefits
- Motherboard: Unless you need specific features, mid-range boards work great
- Case: Pretty cases don’t make games run faster
The golden rule? Never skimp on your power supply. A failing PSU can take your entire system with it. And always prioritize your GPU—it’s the heart of gaming performance.
Remember that technology moves quickly. A smart strategy might be building a solid foundation (case, PSU, storage) that allows for easy upgrades later when prices drop on today’s premium components.
Selecting Compatible Components That Work Together
Checking CPU and Motherboard Compatibility
Building a gaming PC is exciting until you realize your shiny new CPU won’t fit in your motherboard. Talk about a mood killer!
The foundation of any successful PC build starts with CPU and motherboard compatibility. These two need to get along like best friends, or your gaming dreams will crash before they boot up.
First, check the socket type. AMD and Intel use different sockets, and they change them every few generations. An AMD Ryzen processor won’t work with an Intel motherboard, period. In 2025, AMD primarily uses AM5 sockets while Intel’s 14th gen uses LGA 1700.
The chipset matters too. While a CPU might physically fit, the motherboard chipset determines what features you’ll get. Higher-end chipsets (like X870 for AMD or Z890 for Intel) offer better overclocking and more connectivity options.
Don’t forget about BIOS compatibility! Sometimes a motherboard needs a BIOS update to recognize newer CPUs. If you’re buying the latest Ryzen or Intel chip, make sure your motherboard supports it out of the box or you’ll need an older CPU just to update it.
Ensuring Your Power Supply Unit (PSU) Can Handle the Load
Your gaming rig is only as strong as its power supply. Skimping here is like putting regular gas in a Ferrari—technically it’ll run, but you’re asking for trouble.
For gaming PCs in 2025, you’ll want at least 650W for mid-range builds and 850W or more for high-end setups with power-hungry GPUs. Those RTX 5080s are monsters!
PSU efficiency ratings matter too:
| Rating | Efficiency | Recommendation |
|---|---|---|
| 80+ Bronze | 82-85% | Budget builds |
| 80+ Gold | 87-90% | Mid-range builds |
| 80+ Platinum | 89-92% | High-end builds |
Don’t just count watts—check that your PSU has enough PCIe connectors for your graphics card. Many modern GPUs need multiple 8-pin or 12-pin connectors.
Always buy from reputable brands. A quality PSU from Corsair, EVGA, or Seasonic might cost more upfront but could save your entire system from a cheap power supply failure.
Matching RAM Speed with Motherboard Capabilities
RAM compatibility isn’t just about whether it’ll fit in the slot. It’s about getting the performance you’re paying for.
In 2025, DDR5 is standard for gaming builds, but your motherboard dictates what speeds it can actually run. A motherboard that only supports DDR5-4800 won’t magically run your fancy DDR5-6400 sticks at full speed.
Most modern gaming motherboards support XMP (Intel) or DOCP/AMP (AMD) profiles. These are basically one-click overclocking solutions for your RAM. Without enabling these in BIOS, your expensive high-speed RAM will run at basic speeds.
Pay attention to the QVL (Qualified Vendor List) on your motherboard’s website. This lists all RAM kits tested and confirmed to work properly with that board.
For gaming in 2025, 32GB is the sweet spot, but if you’re into heavy multitasking or content creation alongside gaming, consider 64GB.
Case Size Considerations for Your Components
That ultra-compact mini-ITX case might look sleek on your desk, but will it fit your beefy GPU?
Case sizes aren’t standardized, so you need to check the specific dimensions for compatibility:
- GPU length: Most modern gaming GPUs are huge. Check your case’s max GPU length (usually 300-330mm for mid-towers).
- CPU cooler height: Especially important if you’re using a big air cooler.
- Radiator support: For liquid cooling, verify your case can mount your chosen radiator size.
- Motherboard form factor: ATX, Micro-ATX, or Mini-ITX? Your case needs to support your motherboard size.
Don’t forget about airflow! A case packed too tightly with components will run hot, decreasing performance and lifespan. Look for cases with mesh fronts and adequate fan mounting points.
Cable management space is often overlooked. Building in a case with minimal room behind the motherboard tray turns cable management into a nightmare.
For first-time builders, mid-tower ATX cases offer the best balance of space, compatibility, and ease of building. They provide room to work and grow without dominating your entire desk.
Essential Tools and Workspace Preparation
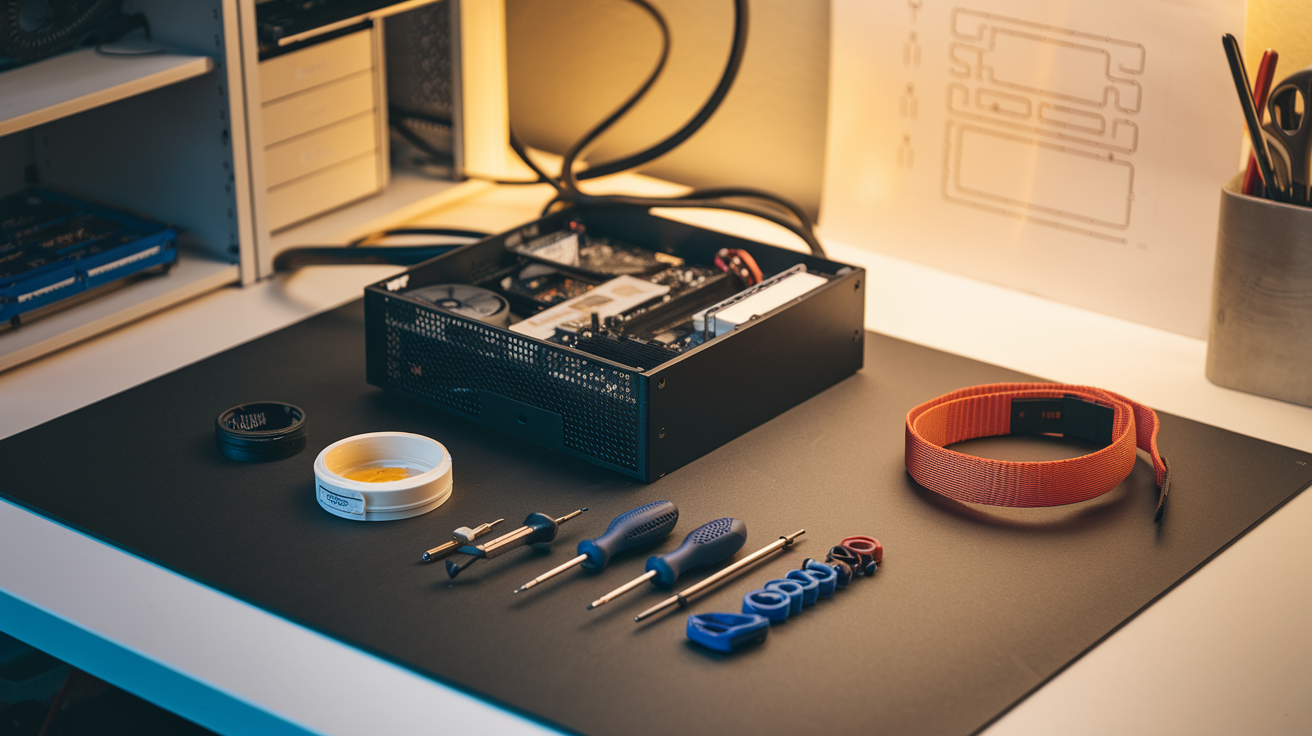
Must-Have Tools for PC Assembly
Building your first gaming PC doesn’t require an engineering degree, but you do need the right tools. Here’s what you’ll want in your arsenal:
- Phillips-head screwdriver (#1 and #2) – Your main weapon. Most PC screws are Phillips-head, and having both sizes ensures you’re covered for all components.
- Anti-static wrist strap – Costs under $10 but can save you hundreds in fried components. Static electricity is invisible but deadly to PC parts.
- Cable ties – Cheap but essential for cable management. Nobody wants a rat’s nest inside their beautiful new build.
- Flashlight or headlamp – PC cases have dark corners, and you’ll need to see what you’re doing when connecting tiny pins and cables.
- Magnetic screw tray – Prevents the dreaded “where did that tiny screw go?” scenario.
- Precision tweezers – Perfect for grabbing dropped screws or placing those frustratingly small front panel connectors.
Optional but helpful tools include needle-nose pliers, isopropyl alcohol and microfiber cloths (for thermal paste application), and a parts organizer tray.
Creating an Anti-Static Workspace
Static electricity is your gaming PC’s invisible enemy. One tiny zap that you might not even feel can fry expensive components instantly.
Start by choosing a hard surface workspace – no carpets or fuzzy blankets allowed! Wood, plastic, or glass tables are ideal. Avoid working in socks on carpet (seriously, this matters).
Your anti-static strategy should include:
- Anti-static wrist strap – Clip it to a metal part of your PC case or a grounded metal object.
- Anti-static mat – Not essential but provides extra protection for about $20.
- Regular grounding – No wrist strap? Touch the metal PC case frequently to discharge static.
- Humidity awareness – Dry air increases static risk. Consider a humidifier if building in winter.
Always handle components by their edges, never touching the gold connectors or circuitry directly.
Organizing Your Parts and Workspace
The difference between a frustrating PC build and a smooth one? Organization.
First, clear a generous workspace – you need at least 3×3 feet of clutter-free area. Good lighting is non-negotiable.
Unbox everything carefully, but don’t remove components from their anti-static bags until needed. Keep motherboard, CPU, and RAM in their protective packaging until the last possible moment.
Create designated zones on your workspace:
- Components still in packaging
- Currently working with
- Small parts (screws, standoffs)
- Tools
- Manuals and documentation (yes, you actually need to read these)
Speaking of manuals – keep your motherboard manual within arm’s reach at all times. It’s your build bible.
Sort screws immediately when opening any component. Different parts use different screws, and mixing them up is a recipe for disaster.
Pro tip: Take photos as you go. They’ll help if you need to backtrack and make for great “before and after” posts when you’re showing off your finished build.
Step-by-Step Assembly Process
A. Installing the CPU and Cooler Safely
Got your shiny new CPU? Great! But before you get all excited and jam it in, let’s make sure you don’t bend any pins or fry your expensive new toy.
First, find the little triangle marker on one corner of your CPU and match it with the triangle on your motherboard socket. Gently place the CPU in—it should drop right in without any pressure. Don’t force it! If it doesn’t align, double-check your orientation.
Now for the cooler. Apply thermal paste if your cooler doesn’t come with it pre-applied. A pea-sized dot in the center of the CPU is enough—the pressure from mounting will spread it evenly. Too much paste is just as bad as too little.
Mounting mechanisms vary between coolers, but most involve aligning the cooler, screwing it down in a diagonal pattern (like you’re changing a tire), and connecting the fan power to the CPU_FAN header on your motherboard.
B. Mounting the Motherboard in the Case
Your case should have come with standoffs—those little brass screws that create space between your motherboard and the metal case. Install them in the holes that match your motherboard’s form factor.
Place the I/O shield (that metal plate with holes for your ports) into the rectangular slot at the back of your case before installing the motherboard. It should snap into place.
Carefully lower your motherboard onto the standoffs, making sure the I/O ports align with the shield. Once it’s sitting pretty, secure it with screws—but don’t overtighten! You just want it snug, not strangled.
C. Connecting the Power Supply
The power supply (PSU) typically mounts at the bottom or top of your case. Orient it so the fan faces outward for proper ventilation.
After securing the PSU with screws, it’s wiring time. You’ll need to connect:
- The 24-pin motherboard power connector
- The 8-pin or 4+4-pin CPU power connector
- PCIe power cables for your graphics card (if needed)
- SATA power for your storage drives
Leave the PSU switched off until everything’s connected. Trust me on this one.
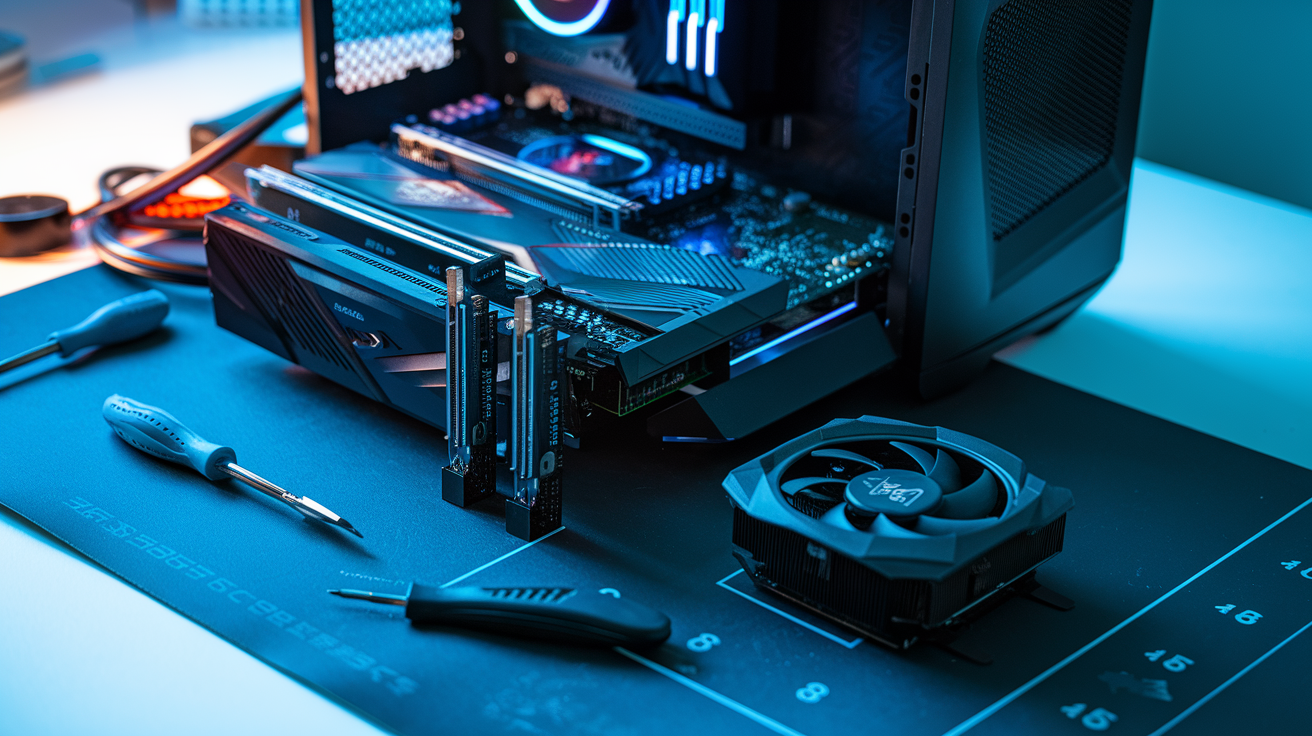
D. Installing Graphics Card and RAM
For RAM installation, open the retention clips on the memory slots. Align the notch in your RAM with the raised section in the slot, then press down firmly until the clips snap closed. Always install in the correct slots for dual-channel performance—check your motherboard manual for this.
For your graphics card, find the PCIe x16 slot (usually the top one) and remove the corresponding back plate from your case. Insert your card at a slight angle, then press down until it clicks into place. Secure it with screws to the case, then connect any required power cables from your PSU.
E. Managing Cables for Optimal Airflow
Messy cables aren’t just ugly—they restrict airflow and make your fancy new gaming rig run hotter than necessary.
Start by routing cables behind the motherboard tray whenever possible. Most modern cases have cutouts specifically for this purpose. Use the included zip ties or velcro straps to bundle similar cables together.
Group power cables together, run front panel connectors along the edges, and make sure no cables are blocking fans or heat sinks. For those stubborn thick PSU cables, try to make gentle bends rather than forcing sharp angles.
Remember, good cable management isn’t just for show—it’s the difference between a PC that runs cool and quiet versus one that sounds like a jet engine taking off when you launch Cyberpunk 2025.
BIOS Setup and Operating System Installation
Navigating Your First BIOS Screen
Just built your shiny new gaming PC? Welcome to BIOS – your first stop before gaming glory.
The BIOS (Basic Input/Output System) might look intimidating with its blue or black background and text-heavy interface, but it’s actually pretty straightforward.
When you first power on your PC, press the designated key to enter BIOS – usually Del, F2, F10, or F12. You’ll know which one because your screen will flash something like “Press F2 to enter Setup” during startup.
Once inside, you’ll see several tabs or sections. Most modern motherboards use a UEFI BIOS with mouse support, making navigation much easier than the keyboard-only versions of yesteryear.
Key areas to familiarize yourself with:
- Main/System Information: Basic system details
- Advanced Settings: Hardware configuration options
- Boot: Controls startup device priority
- Security: Password protection and secure boot options
- Save & Exit: Where you’ll commit your changes
Take a few minutes to look around, but don’t change anything yet unless you know what you’re doing. Many gaming motherboards even have a “beginner mode” with simplified interfaces.
Installing Windows for Gaming
Time to bring your gaming rig to life with an operating system! For most gamers, Windows is the go-to choice due to its compatibility with virtually all PC games.
First, you’ll need:
- A USB flash drive (8GB or larger)
- Access to another computer
- A valid Windows license key
Head to Microsoft’s website and download the Media Creation Tool. This nifty utility will turn your USB drive into a bootable Windows installer. The process takes about 15-20 minutes depending on your internet speed.
With your bootable drive ready:
- Insert it into your new PC
- Power on and enter BIOS
- Navigate to the “Boot” section
- Set the USB drive as the first boot device
- Save changes and exit BIOS
Your computer will restart and begin the Windows installation process. Select “Custom Install” when prompted, and choose the SSD you’ve designated for your operating system.
After installation completes, your PC will restart several times. Follow the on-screen prompts to set up your account.
Pro tip: Hold off on internet connection during initial setup if you want to create a local account instead of being forced to use a Microsoft account.
Critical BIOS Settings for Gaming Performance
Think your gaming PC is ready after Windows installation? Not so fast. Tweaking these BIOS settings can squeeze significant extra performance from your system.
XMP/DOCP Profile
Your fancy RAM probably isn’t running at its advertised speed out of the box. Find the XMP (Extreme Memory Profile) setting – called DOCP on some AMD systems – and enable it. This single change can boost performance by 5-15% in memory-intensive games.
CPU Settings
If you’ve got a decent cooling solution, consider these options:
- Enable PBO (Precision Boost Overdrive) for AMD CPUs
- Enable MCE (Multi-Core Enhancement) for Intel CPUs
- Adjust power limits for sustained performance
Storage Configuration
Make sure your NVMe SSD is running in PCIe 4.0 mode if supported. Also verify SATA ports are set to AHCI mode, not IDE.
Fan Curves
Default fan profiles often prioritize noise over cooling. Create a custom fan curve that ramps up more aggressively during gaming sessions.
Resizable BAR/Smart Access Memory
Enable this feature if you have compatible CPU and GPU combinations. It allows your processor direct access to your graphics card’s memory, improving frame rates in many games.
Don’t go overboard with exotic settings unless you’re comfortable troubleshooting. Small, targeted changes to these key areas will give you the best balance of stability and performance.
Optimizing Your New Gaming PC
Installing Essential Drivers
Building the PC was the easy part. Now comes the real challenge – making it purr like a finely-tuned engine. First things first: drivers.
Don’t rely on Windows to handle this critical job. Here’s what you need to do:
GPU Drivers – Head straight to NVIDIA or AMD’s website (depending on your card) and download the latest. Avoid the bloatware by selecting “Custom Installation” and unchecking unnecessary extras.
Motherboard Drivers – Your motherboard’s support page is gold. Grab these in this order:
- Chipset drivers (the foundation)
- Audio drivers
- Network/WiFi drivers
- USB drivers
Windows Updates – Yes, boring but essential. This patches security issues and improves compatibility.
Pro tip: Create a folder called “PC Drivers” on an external drive with all your installation files. Future-you will thank present-you when something goes wrong.
Benchmarking Your System
Congrats! Your gaming rig is alive, but how powerful is it really? Time to put some numbers to that beast.
Start with these free tools:
- 3DMark (free version works fine) for GPU and overall system
- Cinebench for CPU performance
- CrystalDiskMark for storage speeds
Run each benchmark at least twice. First runs can be misleading as background processes might interfere.
Record your scores somewhere. These aren’t just bragging rights—they’re your baseline. If performance drops mysteriously in the future, you’ll have evidence something’s changed.
Overclocking Basics for Extra Performance
Want free performance? Overclocking is your answer—but it’s like hot sauce. Start with a little, see how your system handles it.
Here’s a beginner-friendly approach:
Research your specific components – Every CPU and GPU has different limits.
Baby steps for CPU overclocking:
- Increase multiplier by 1
- Stress test for 30 minutes
- If stable, repeat
- If unstable, increase voltage slightly (0.01V increments)
GPU overclocking with MSI Afterburner:
- Increase core clock by 25MHz increments
- Test with a benchmark
- Stop when you see artifacts or crashes
Remember: better cooling = better overclocking potential. Monitor your temperatures—keep CPUs under 85°C and GPUs under 80°C.
Setting Up Game Launchers and Platforms
The digital game landscape is fractured. You’ll likely need multiple launchers to access your full library:
- Steam – The grandfather of PC gaming platforms
- Epic Games Launcher – Weekly free games make this worthwhile
- GOG Galaxy – Connects multiple launchers in one interface
- Xbox App – Essential for Game Pass subscribers
Install these on your fastest storage drive—preferably an SSD. For games themselves, create a dedicated folder structure:
D:\Games\
  ├── Steam
  ├── Epic
  ├── Origin
  └── Standalone
Set each launcher to install to its respective folder. This organization will save you headaches when you’re hunting for installation files or freeing up space.
Don’t forget Discord for voice chat and community features. Your gaming experience isn’t complete without trash-talking friends!
Troubleshooting Common First-Build Problems
A. Dealing with No Power or No Display Issues
Nothing’s more frustrating than pressing that power button and… crickets. Happens to the best of us! If your freshly built PC won’t turn on or show anything on the display, don’t panic.
First, double-check the basics:
- Is the power supply switched on? (That tiny switch on the back is easy to miss)
- Is the power cable securely plugged into both the wall and PSU?
- Are all internal power connections seated properly? (Motherboard 24-pin, CPU 8-pin)
For no display issues:
- Make sure your monitor is connected to your GPU, not the motherboard ports
- Try reseating your RAM sticks – sometimes they need a firm push
- Check that your GPU is fully seated and has power connections attached
Pro tip: The “paperclip test” can tell you if your power supply is working. Just grab a paperclip, bend it into a U-shape, and connect the green wire pin to any black wire pin on the 24-pin connector with the PSU disconnected from everything else. If the fan spins up, your PSU works!
B. Resolving Boot Failures
Your PC powers on but won’t boot? This is actually progress! Boot failures usually mean your components are getting power, but something’s preventing startup.
Common culprits include:
- BIOS settings need adjustment (press Delete, F2, or F12 during startup)
- Boot drive not detected or configured incorrectly
- RAM compatibility issues
Try these fixes:
- Reset CMOS (either with the motherboard button or by removing the battery for 30 seconds)
- Boot with just one RAM stick in the primary slot
- Disconnect all drives except your boot drive
- Check if your CPU and motherboard are compatible without BIOS updates
Many first-timers miss this: your new motherboard might need a BIOS update to work with the latest CPUs. Some boards have a BIOS flashback feature that lets you update without a working CPU.
C. Fixing Unexpected Shutdowns
Random shutdowns are often heat-related. Your PC is protecting itself from damage.
Quick fixes to try:
- Check CPU and GPU temperatures using software like HWMonitor
- Make sure all fans are spinning and pointing in the correct direction
- Confirm your CPU cooler is properly mounted with the right amount of thermal paste
- Ensure your case has adequate airflow
Power issues can also cause shutdowns:
- Your PSU might be underpowered for your components
- Check for loose power connections
- Test with another power outlet or surge protector
The most overlooked shutdown cause? Cable management. Those bunched-up cables can block airflow and create hotspots inside your case. A clean build is a cool build!
D. Identifying and Resolving Component Failures
Sometimes a part is just DOA (Dead On Arrival). It happens. The trick is figuring out WHICH part.
Signs of specific component failures:
- GPU: Display artifacts, strange colors, crashes during graphics-intensive tasks
- RAM: Blue screens, random crashes, failure to complete memory-intensive tasks
- CPU: System freezes, failure to POST, repeated restarts
- Storage: Slow performance, corrupted files, failure to detect drive
The “swap and test” method works best:
- Borrow known-working parts from friends if possible
- Start by testing with minimal components (CPU, one RAM stick, GPU, PSU)
- Add components one by one until you find the culprit
Most PC parts come with at least a 1-year warranty, so don’t hesitate to RMA (return merchandise authorization) defective components. Just remember to test thoroughly before concluding a part is bad.
Most common rookie mistake? Forgetting to connect power to components. Your GPU and CPU cooler need dedicated power connections!
Crafting Your Gaming PC Journey
Building your first gaming PC might seem daunting at first, but with a clear understanding of components, careful budget planning, and methodical assembly, you can create a customized rig that perfectly suits your gaming needs. From selecting compatible parts to optimizing performance after setup, each step in the process contributes to a rewarding experience that extends beyond just playing games—it’s about creating something uniquely yours.
Now that you have the knowledge to build your own gaming PC, it’s time to put these insights into action. Remember that patience is key during assembly, and don’t hesitate to consult online communities if you encounter challenges. Your first build is just the beginning of an exciting journey into PC gaming and hardware. As technology evolves, you can upgrade individual components to keep your system performing at its best for years to come. Happy building and even happier gaming!